Noise vs Vibrations
Most gyms (and their landlords) think that they have, or are going to have, a noise issue. They don’t. What gyms actually have is a vibration issue, especially if your space is above an underground parking garage that creates a nice big hollow drum of vibrations. When you’re in a densely populated area like Vancouver, almost every building has underground parking. But even if it doesn’t, there have been cases of vibrations from weights being dropped travelling up to 50 floors vertically (from four floors underground), or up to a full city block away, even when buildings do not share a concrete slab.
As one of the only gyms in Vancouver that has not had to move due to lawsuits or noise complaints, I’m sharing this post to help educate future (or current) gym owners on what you can, and must, do to avoid these issues. My hope is to help more functional fitness style clubs flourish and help more people find their fit.
2010: The First Platform Variations
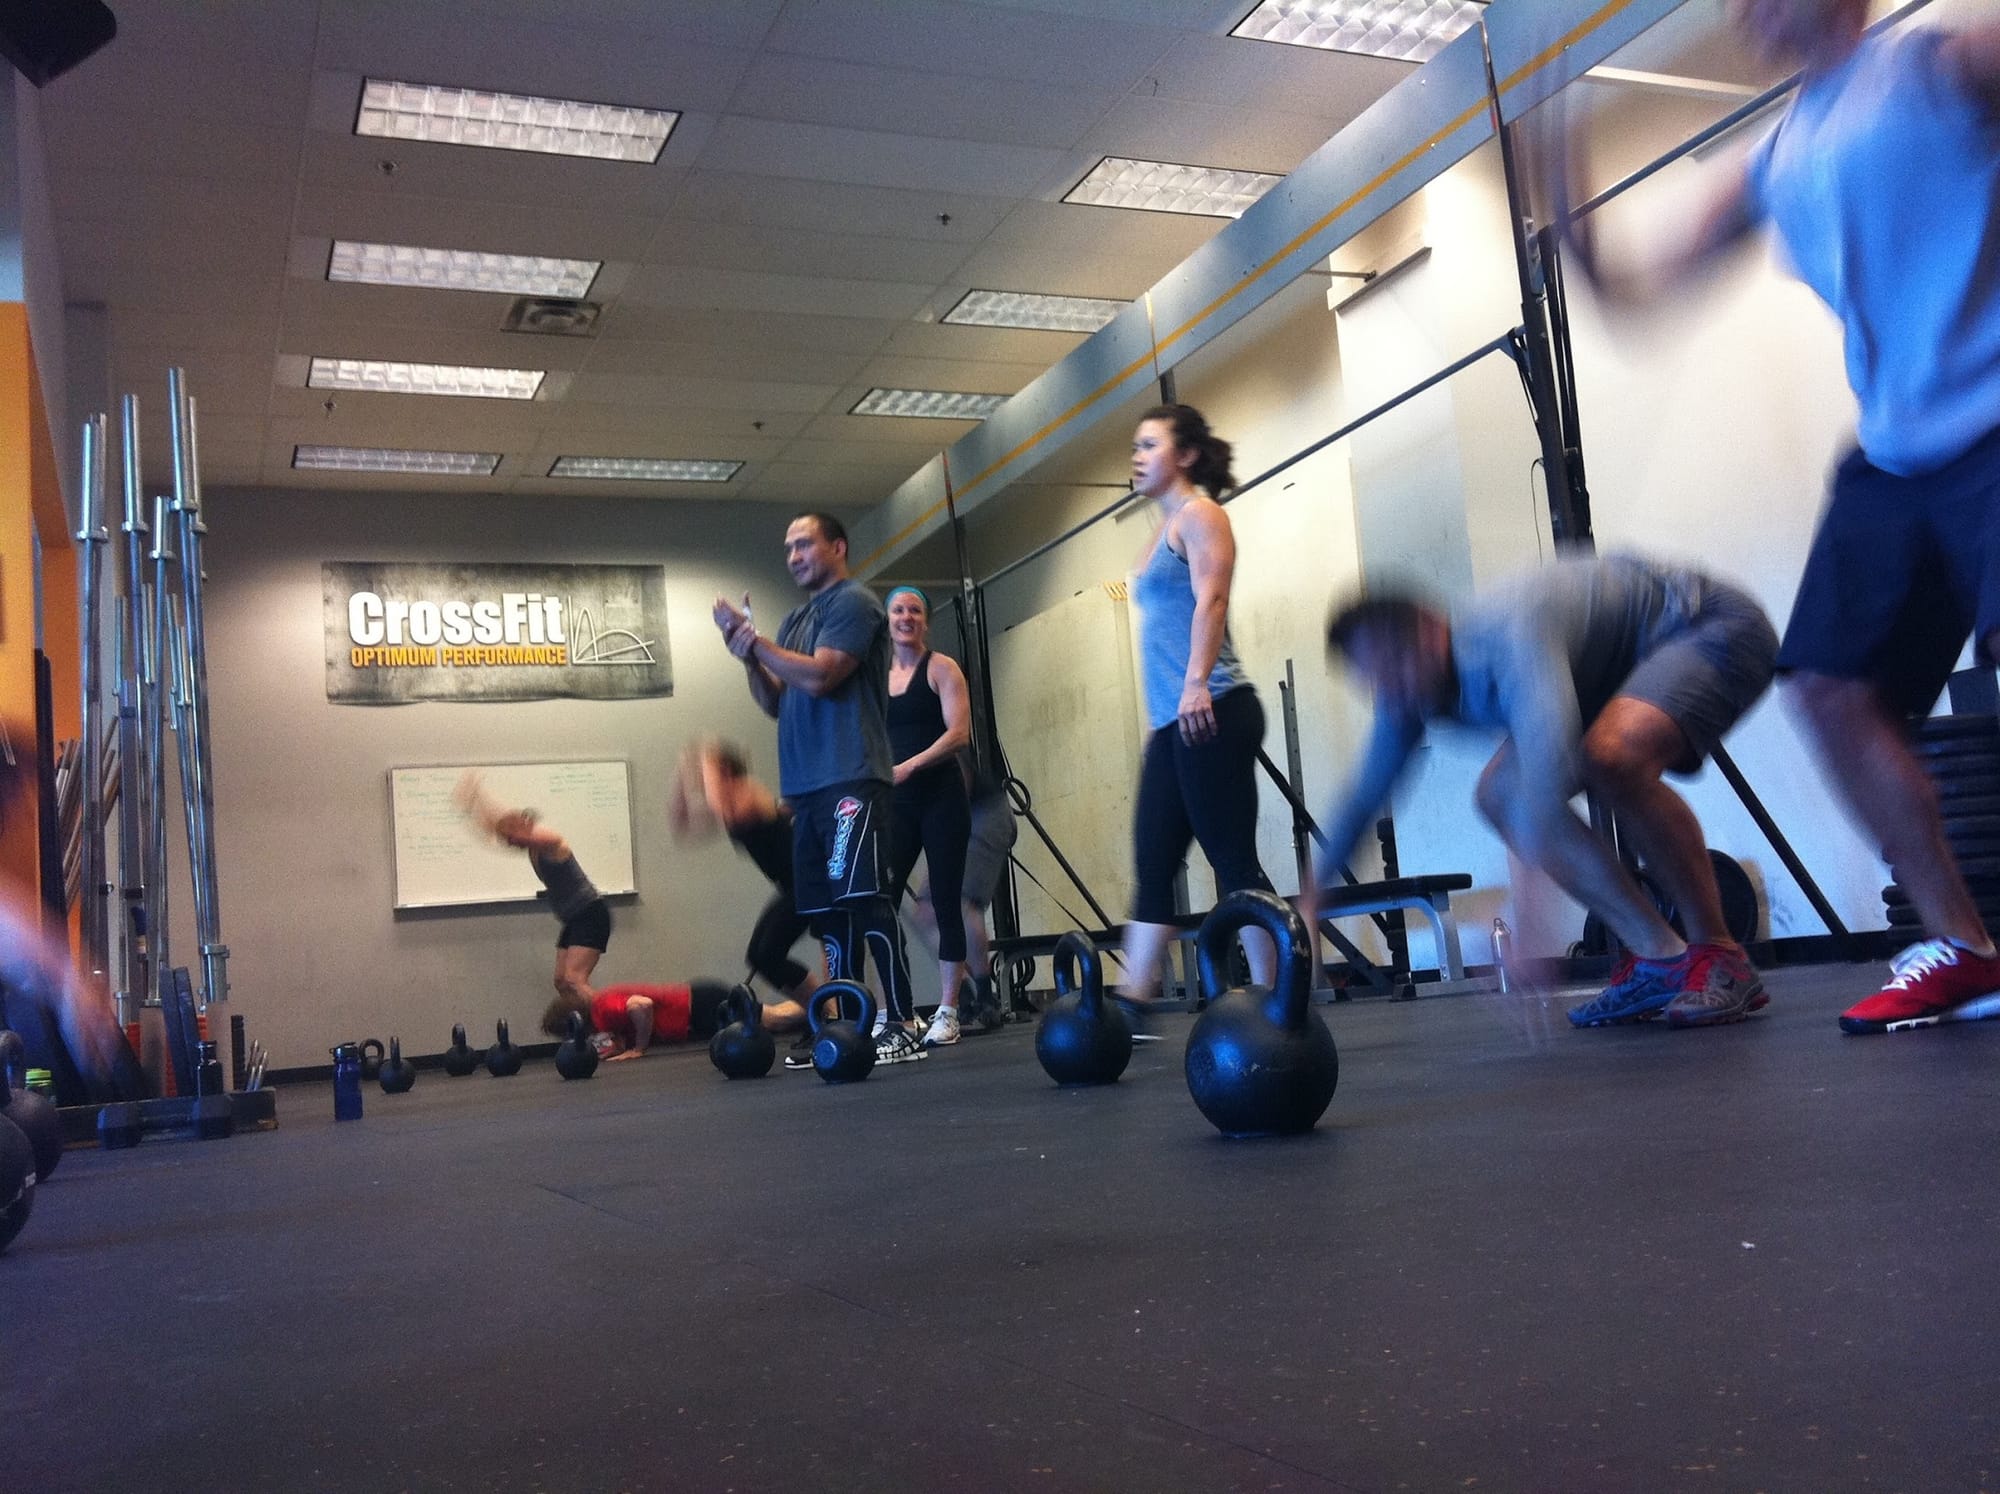
At CrossFit Optimum Performance
Long before Raincity Athletics existed, I was already being introduced to the realities of vibration in ways I didn’t fully understand at the time. One of the earliest wake-up calls came at CrossFit Optimum Performance, where we began receiving complaints from businesses four floors above us. Not next door, not directly overhead, but four floors up.
Someone before me had already tried a simple solution, using multiple strips of carpet underlay inside the “wells” of a lifting platform to absorb drops. I loved the idea of this solution, as carpet underlay (specifically the viscoelastic foam variation) was literally designed for this purpose, dampening the vibration of footsteps. In theory, this was the cheapest way to get large quantities of the right type of foam.
The issue was movement. You needed so many layers of foam to handle 300 lb+ drops, but once stacked, the material began to shift, creating an uneven lifting surface. It was a good start, but version one needed a lot of work.
We tried to improve it with a second iteration, wall-mounted platforms that dropped down like drawbridges, with shallower, more defined wells that contained the foam. Technically, they were a significant improvement, but practically, they were so heavy and awkward that no one ever wanted to use them. That was the first big lesson. A solution can be structurally sound and still fail if it doesn’t fit the reality of how people move and train.
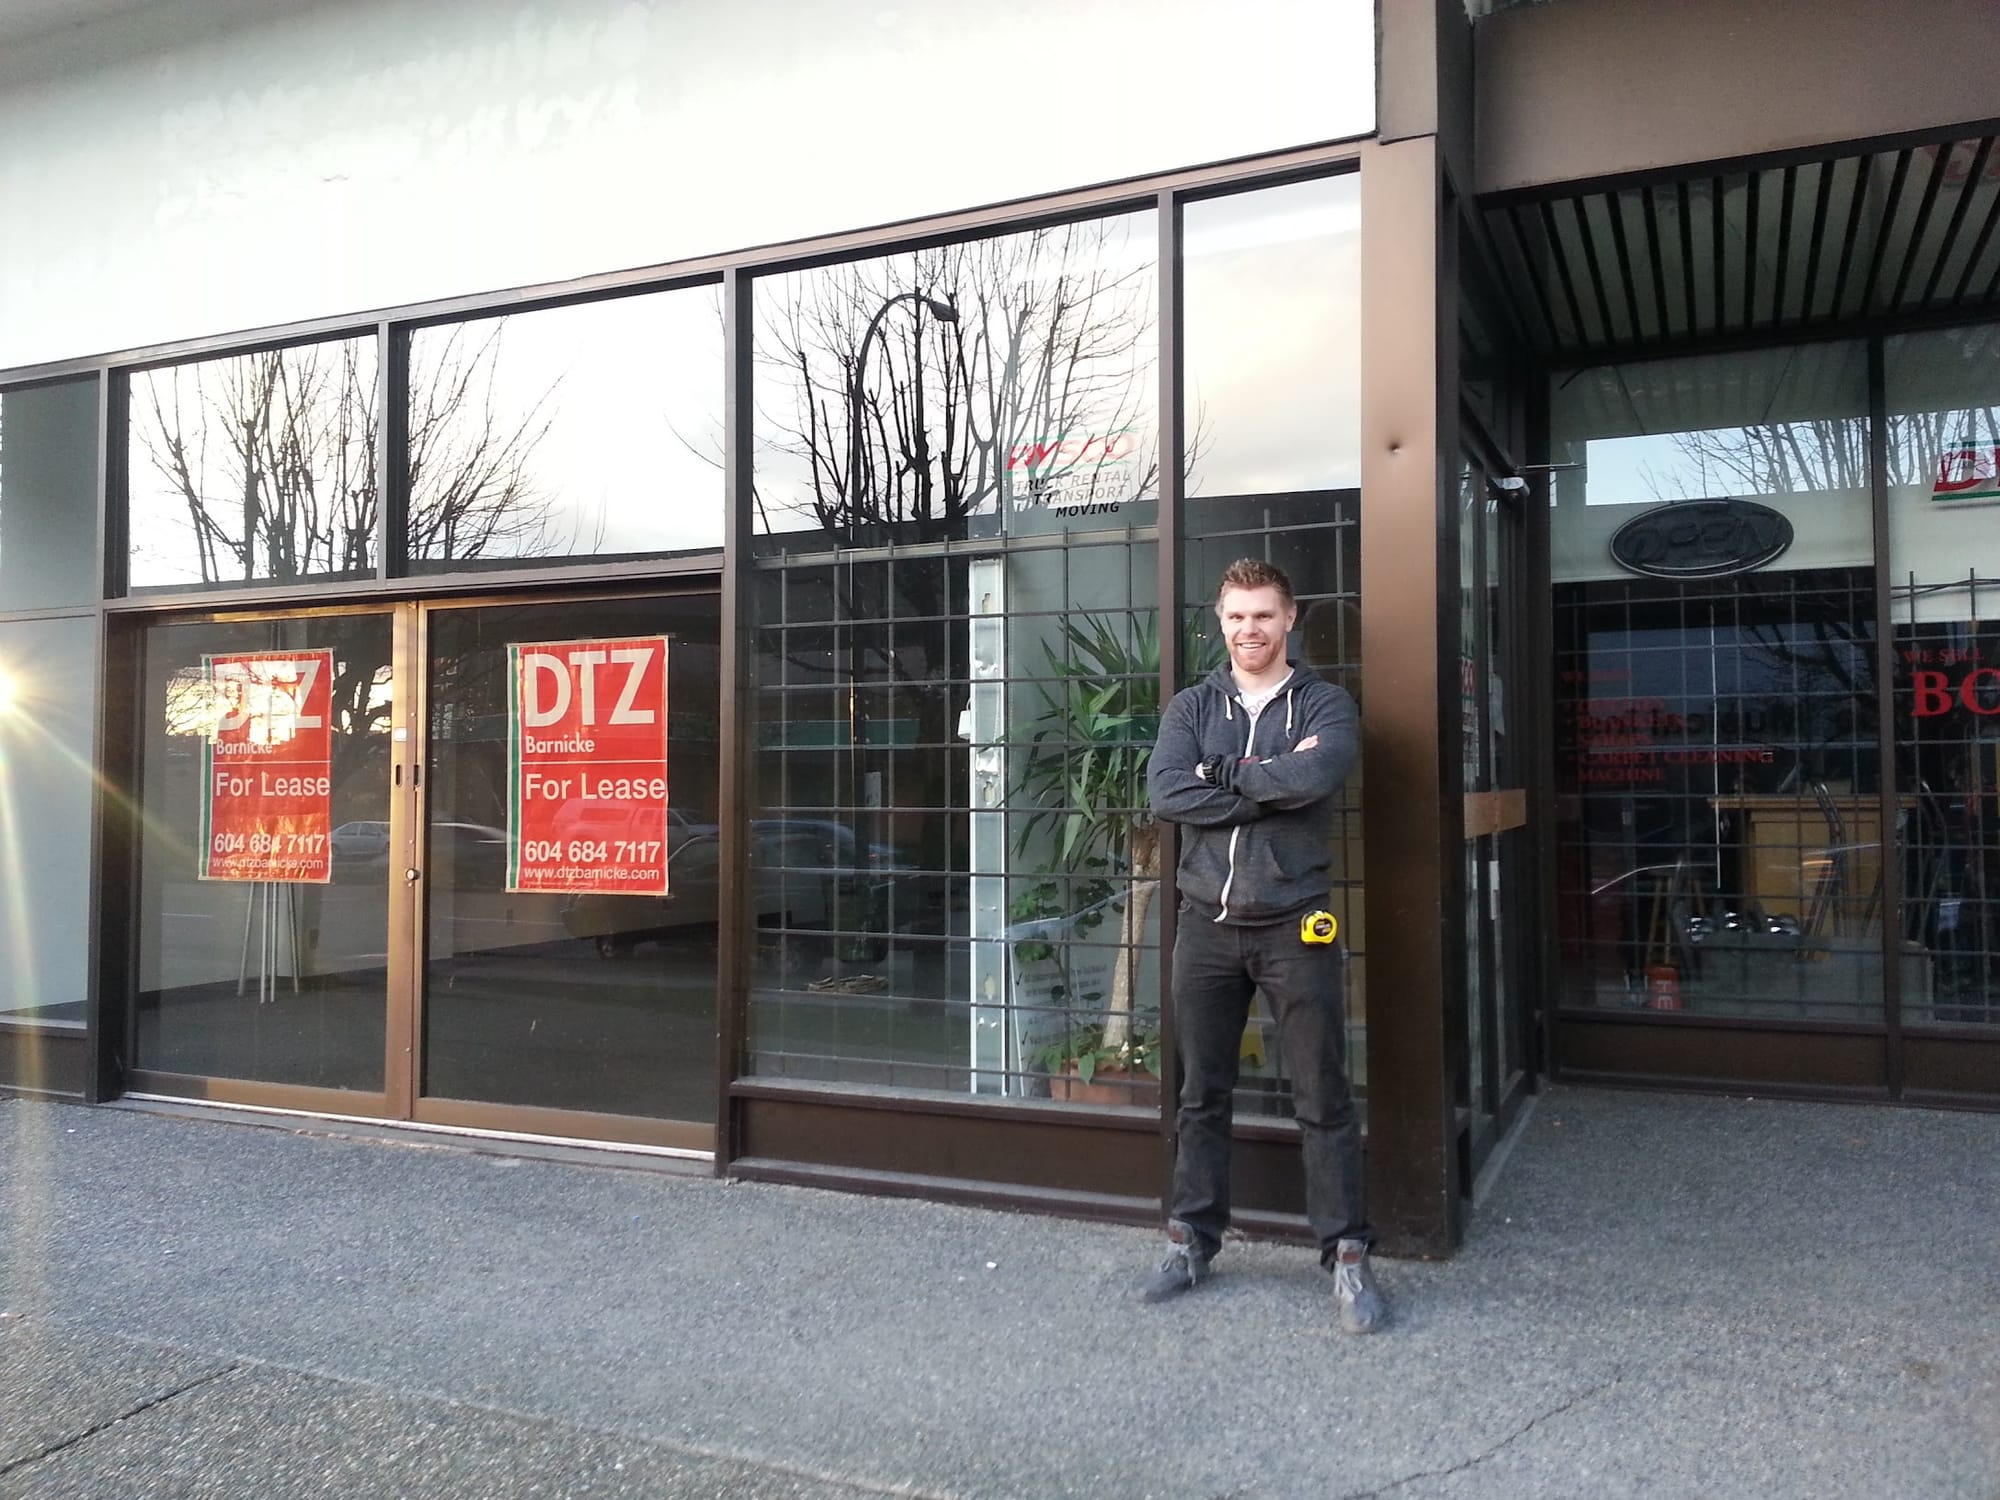
2013: Raincity Athletics 1.0
And my first attempt at a subfloor across a whole gym.
After a lot of tinkering, and coaching at multiple different gyms over the years, a lease had finally been signed and I was opening my very own location. Having seen the negative experiences of so many other gyms, even by 2013, dealing with vibration issues, I did thorough testing with the landlord and made sure our lease included language that as long as work was being done to avoid vibration issues for their other tenants, I couldn't get kicked out.
One of the biggest saving graces, and most important lessons, was this:
There were no private owners sharing the building or even the block. Every tenant was on a commercial lease, which meant that if they had an issue, it went through the landlord. This is very different from having private apartment or space owners nearby. If they have an issue, you get sued.
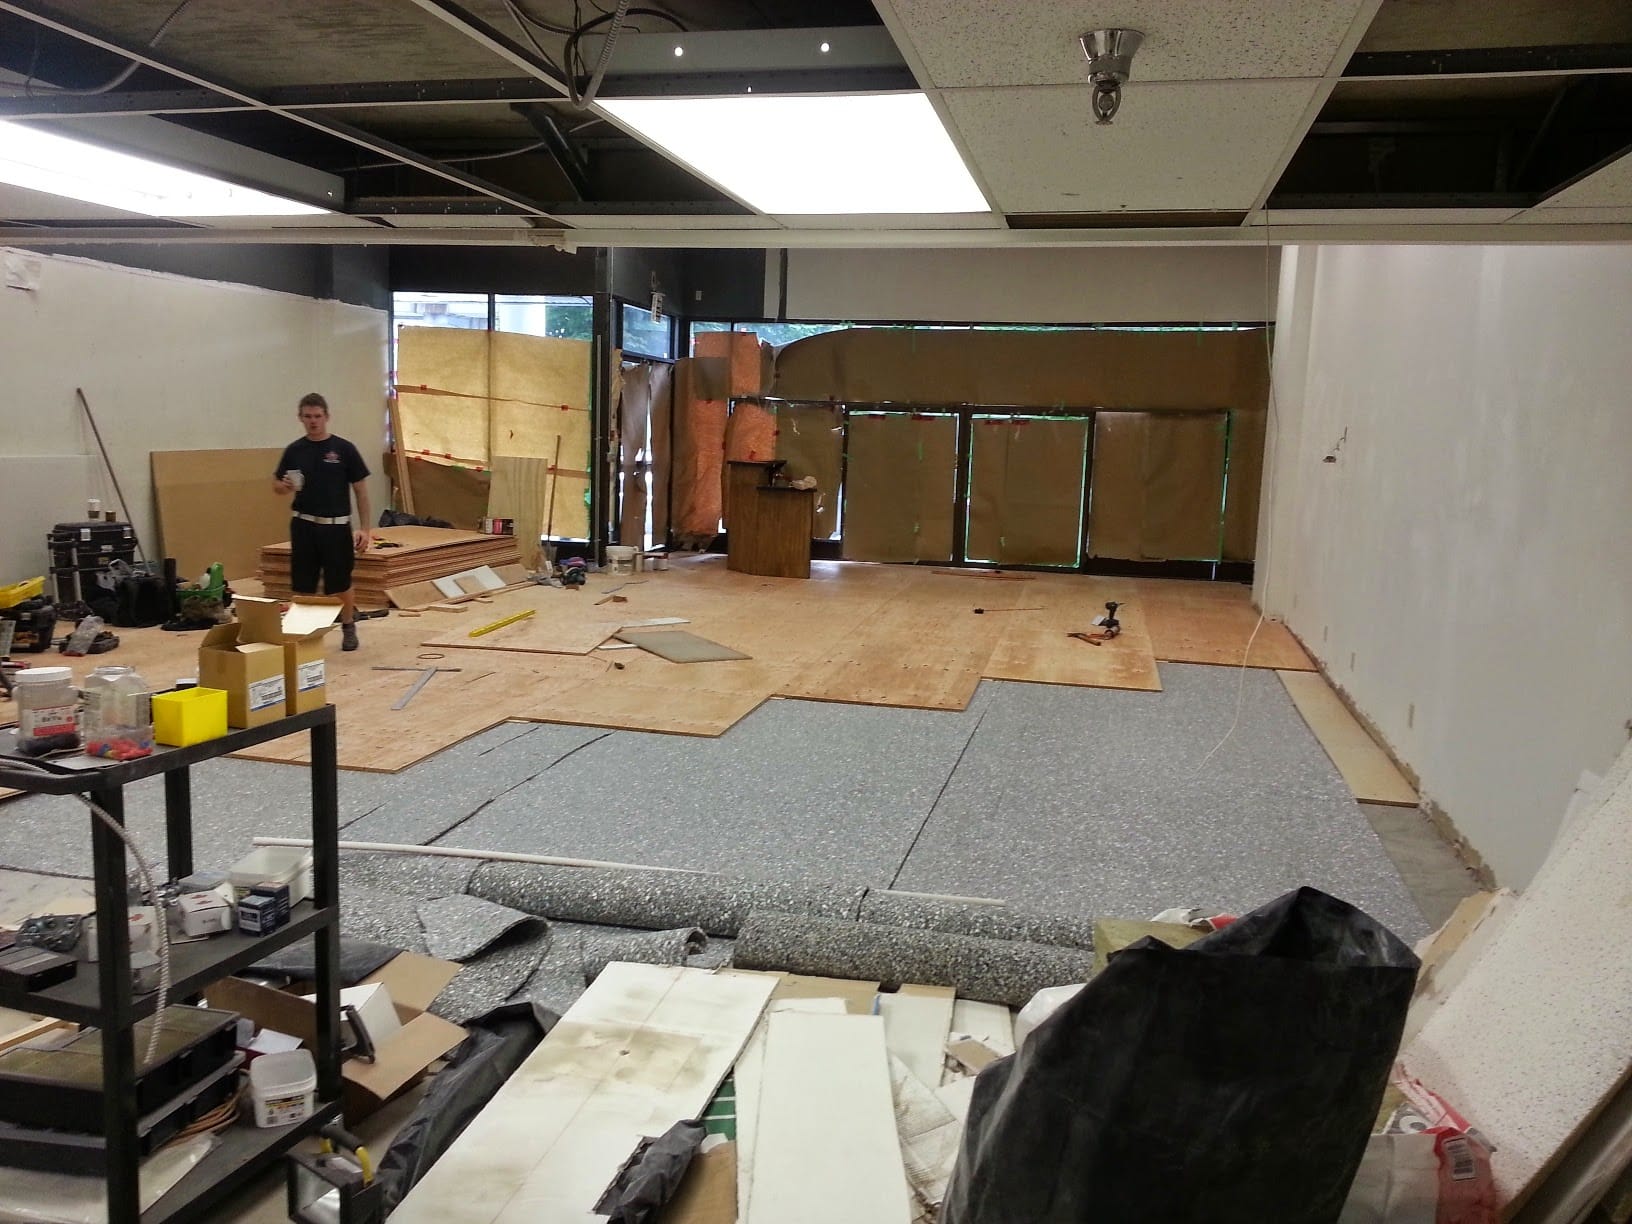

It was time to put my mockups to work, and we built what I believe was the first truly affordable floating anti-vibration subfloor. I’m not the first person to ever do this, but the solution I came up with cost less than a quarter of what it would have cost to hire it out. If you are not handy or a builder, I highly recommend contacting someone like GSP Flooring. They offer very similar (albeit much pricer) solutions , and I still use them for rubber to this day.
The center of the platforms were solidly supported underneath with wood, as was the perimeter. The middle section of the gym was ¾-inch tongue-and-groove plywood floating on one to two layers of carpet underlay. This wasn’t intended to function like a traditional platform, but rather to dramatically reduce day-to-day drops and slams, which it did... at least for a while.
The problems came quickly. One layer of ¾-inch plywood relying on tongue-and-groove joints was not enough. Within the first year, the floor became lumpy as the plywood took a beating and seams began to separate. It still worked, but it wasn’t ideal.
Back to the drawing board....
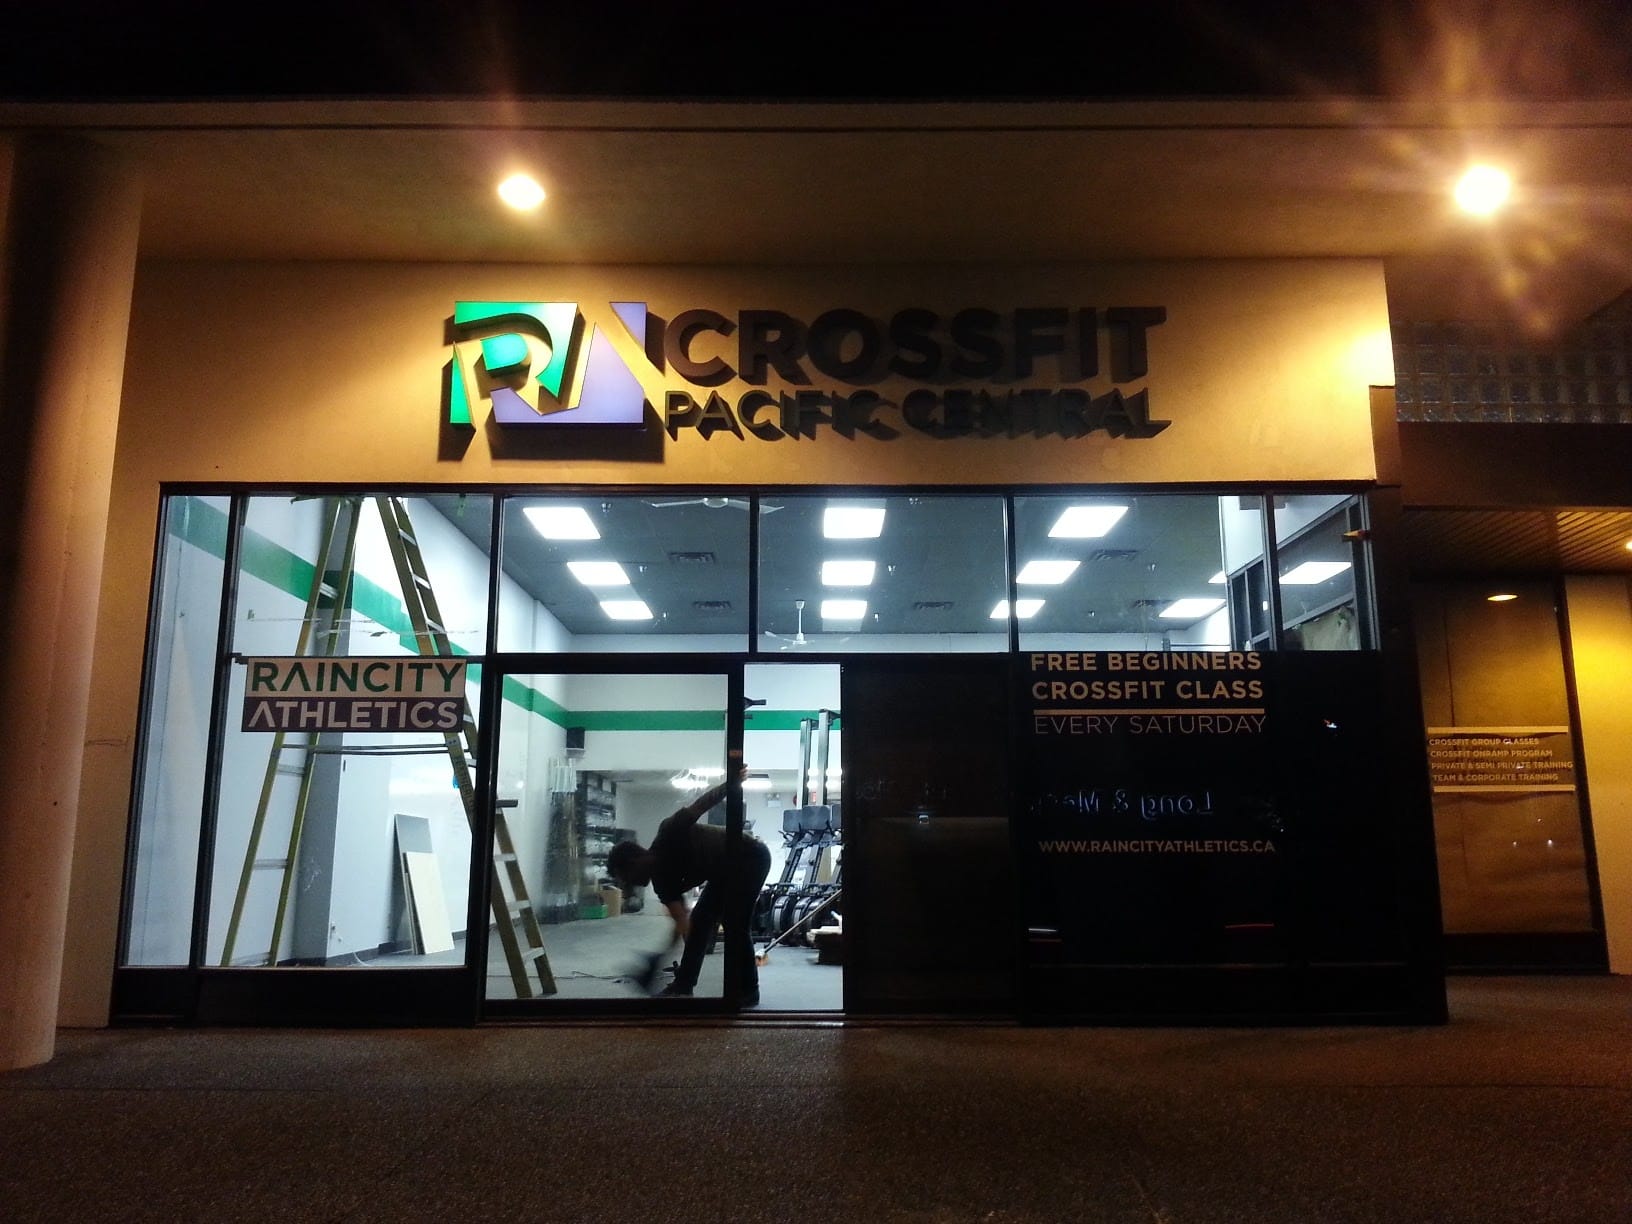
2017: Raincity Athletics 2.0
Upgraded versions of everything I had built before.
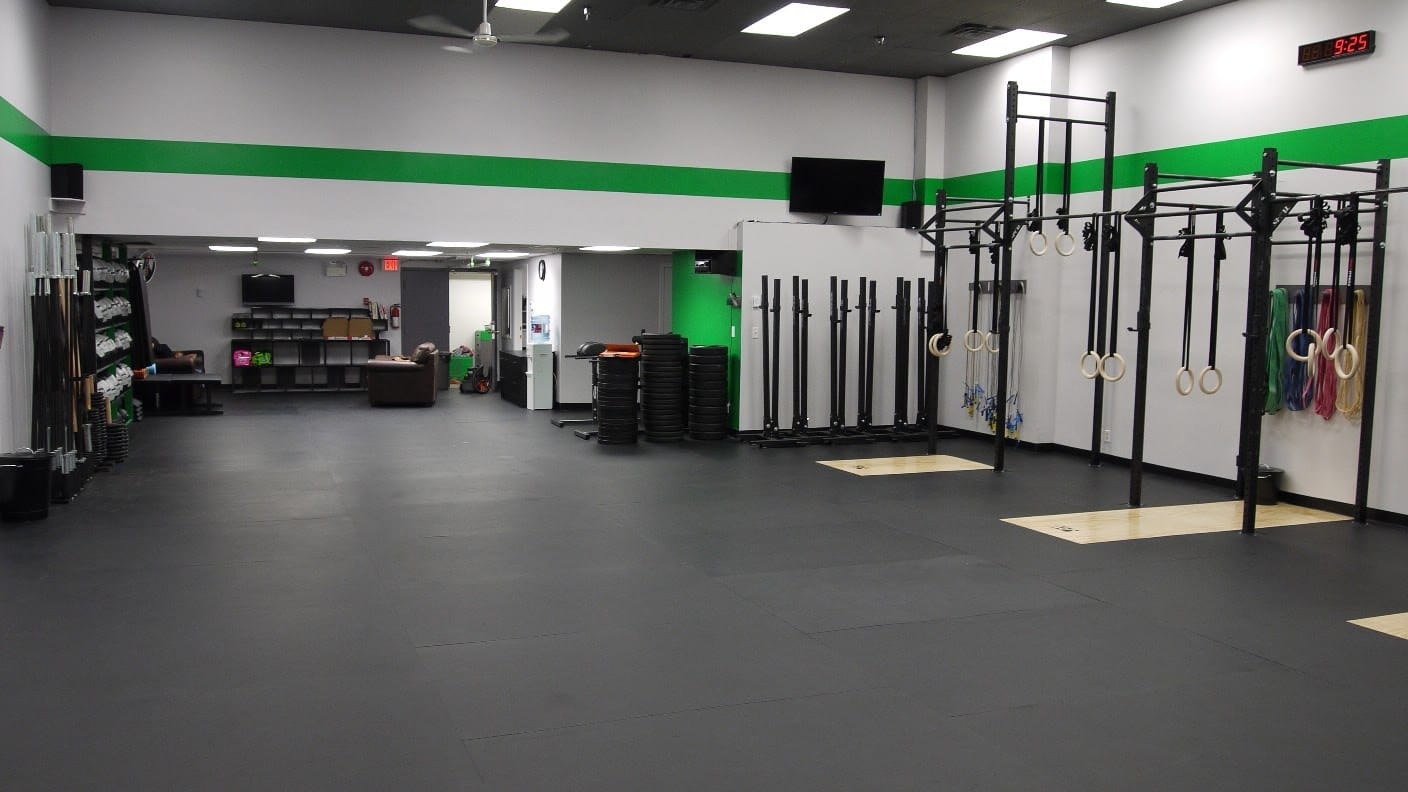
In 2017, I signed the lease next door to triple the size of our space. It was time to combine over a decade of anti-vibration building experience with everything I had learned so far.

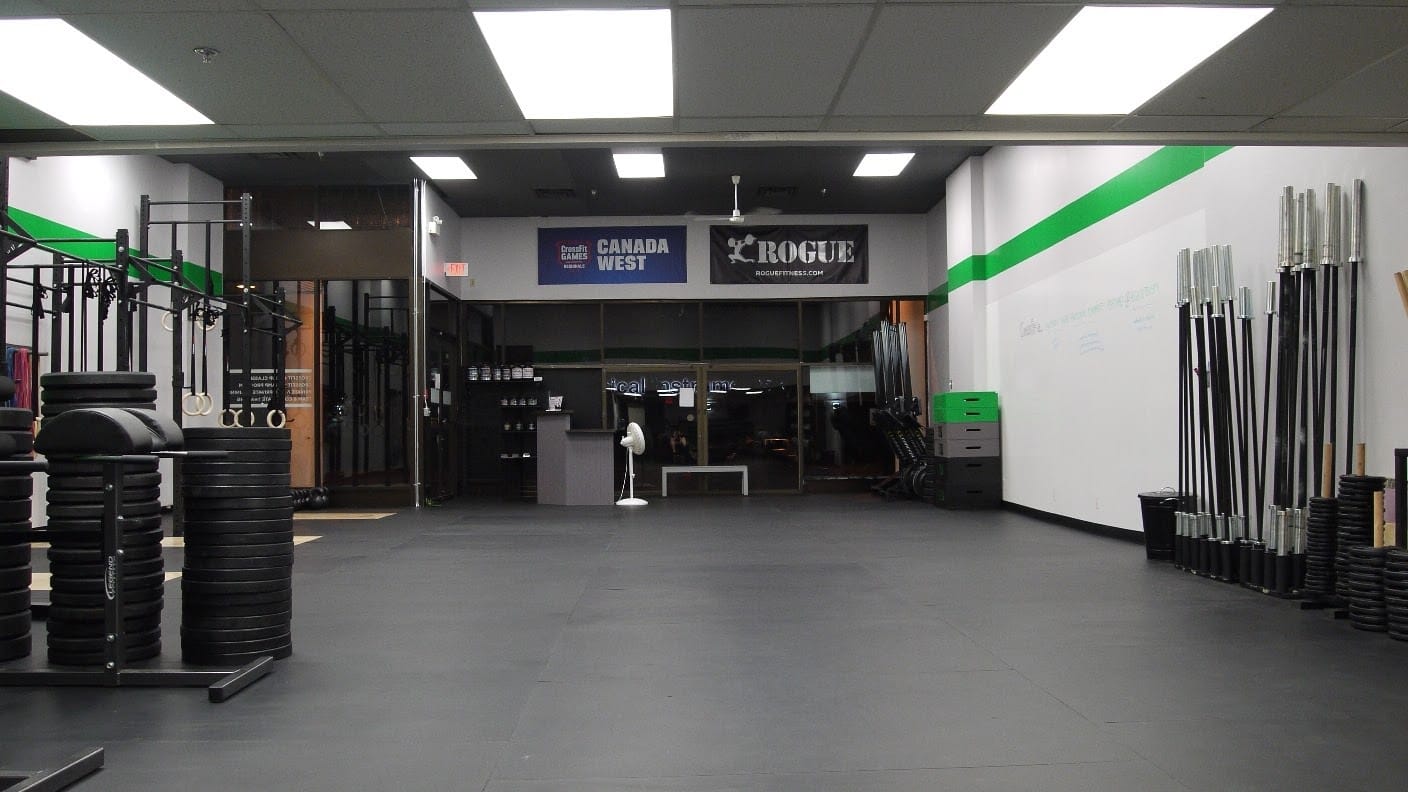
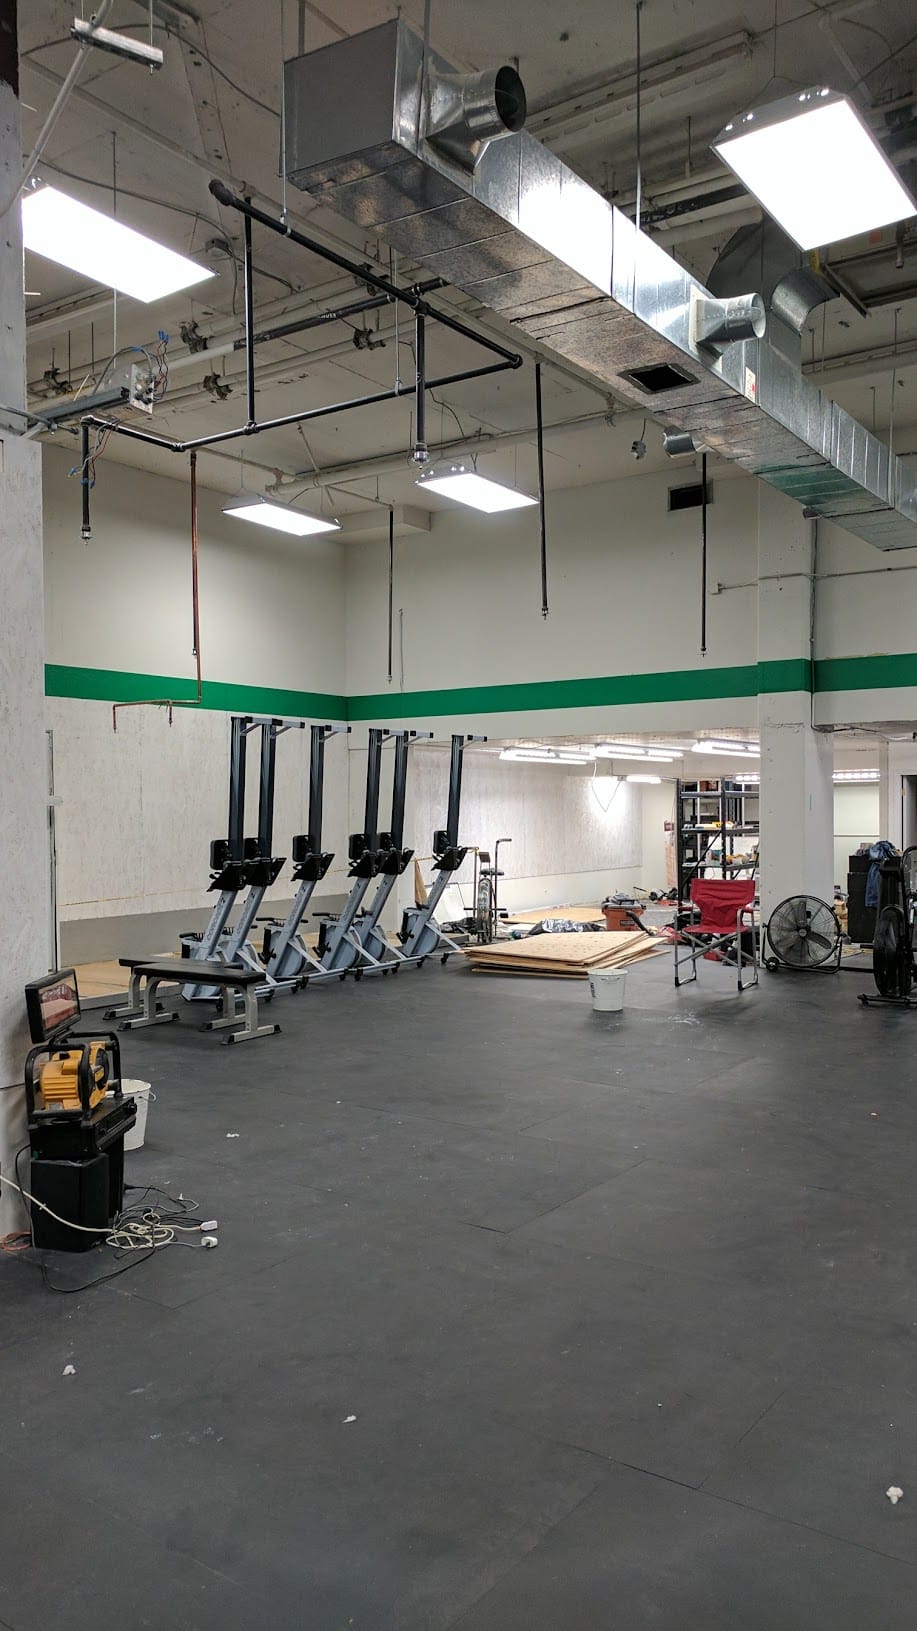
We built platforms against one wall to host the Raincity Barbell Club, allowing athletes to freely drop weights of any load without relying on crash pads. Instead of purchasing individual crash pads for each well, I sourced the actual material inside commercial crash pads and built it directly into the floor, then covered everything with heavy-duty rubber.
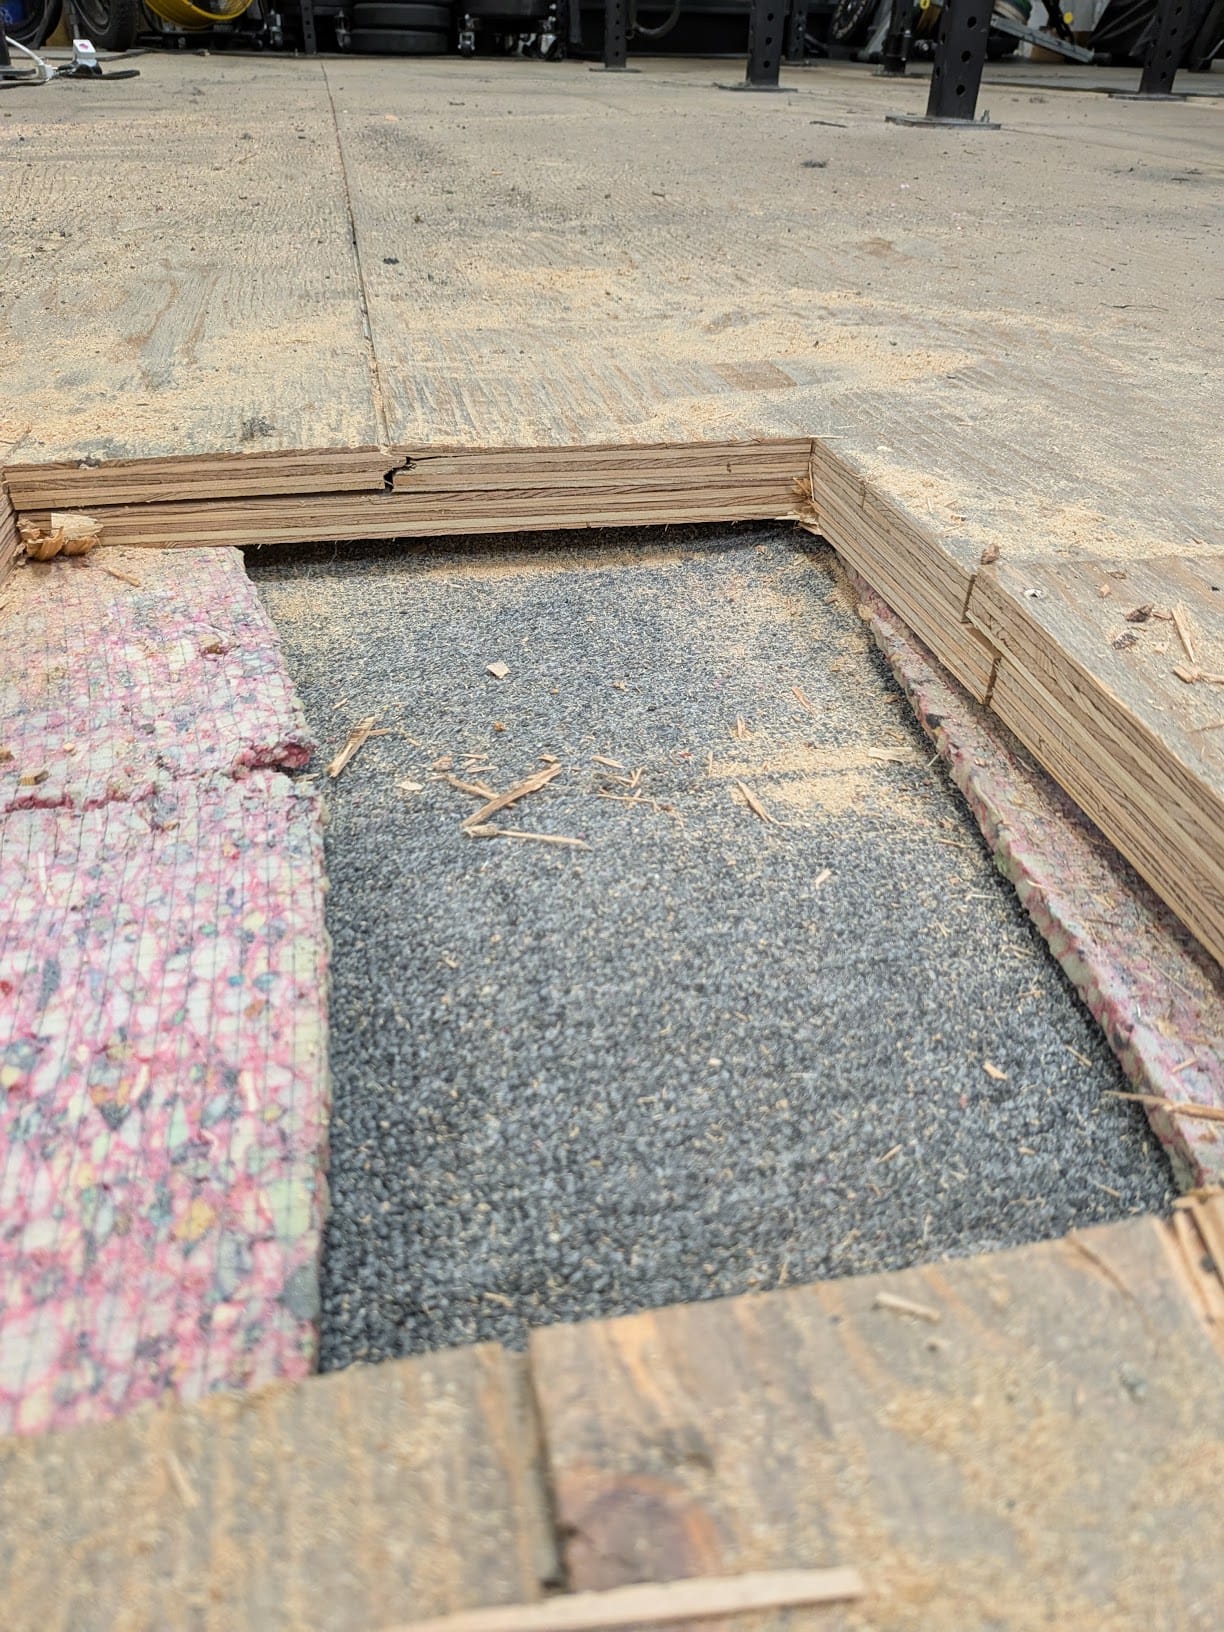
Next was rebuilding the floating subfloor, version two, with longevity in mind. We glued and screwed two layers of ¾-inch plywood together, creating a 1.5-inch thick floating layer (think a 2x4 laid flat), on top of two layers of carpet underlay totaling roughly ¾-inch, with ⅝-inch rubber on top.
We made only two crucial mistakes, which would later become some of my biggest lessons, not just in building floors, but in life.
I wish I had more photos of this buildout. Huge thank you to Justin Cameron, a member at the time, who headed up the majority of this construction and helped bring Raincity 2.0, aka “The Annex," to life...
I wish I had more photos of this buildout to share. Huge thank you to Justin Cameron, a member at the time that headed up the majkority of this construction for me and building out our Raincity 2.0 aka 'The Annex'.
One Mistake, 7 Years of Trying to Fix it.
The lesson I learned after cutting up and rebuilding my sub floor.
Over the next five to seven years, I spent almost every Christmas and Boxing Day at Raincity trying to fix issues with our lumpy subfloor. I refused to close Raincity for more than two days, so all renovation work happened on Christmas Day and Boxing Day. I assumed the lumps had formed from years of heavy barbell drops, liquid from floor mopping, and general wear and tear on the plywood, but I was wrong.
It wasn’t until the most recent renovation, when we cut the entire subfloor out and rebuilt it, that I realized the real issue that had caused my 7 years of headaches and holidays wasted: It was all because we never leveled the concrete subfloor underneath. At the time, we didn’t think the 1.5-inch dip in the middle was a big deal, and assumed we could make it up with extra padding. We were very wrong...

After a couple of years dealing with the dip (aka the bathtub), I tried re-leveling by adding more underlay to the center and patching over it. This helped temporarily, but as weights continued to drop, the middle settled again.
The next attempt involved roofing membrane. In theory, it was perfect. I could add layers where needed, melt and feather the edges, and gain liquid protection at the same time. Brilliant, right?
One problem. Rubber flooring hides nothing. The 1/8-inch to 1/16-inch edges left by the membrane were visible and noticeable underfoot during every workout.
Over the next few years, I spent Christmas and Boxing Day trying to remove those edges. One year I tried outdoor park rubber mulch and glue, thinking I could trowel it smooth. I was wrong. The next year, I tried a full layer of high-density fiberboard, hoping it would smooth everything out. I was wrong, again.
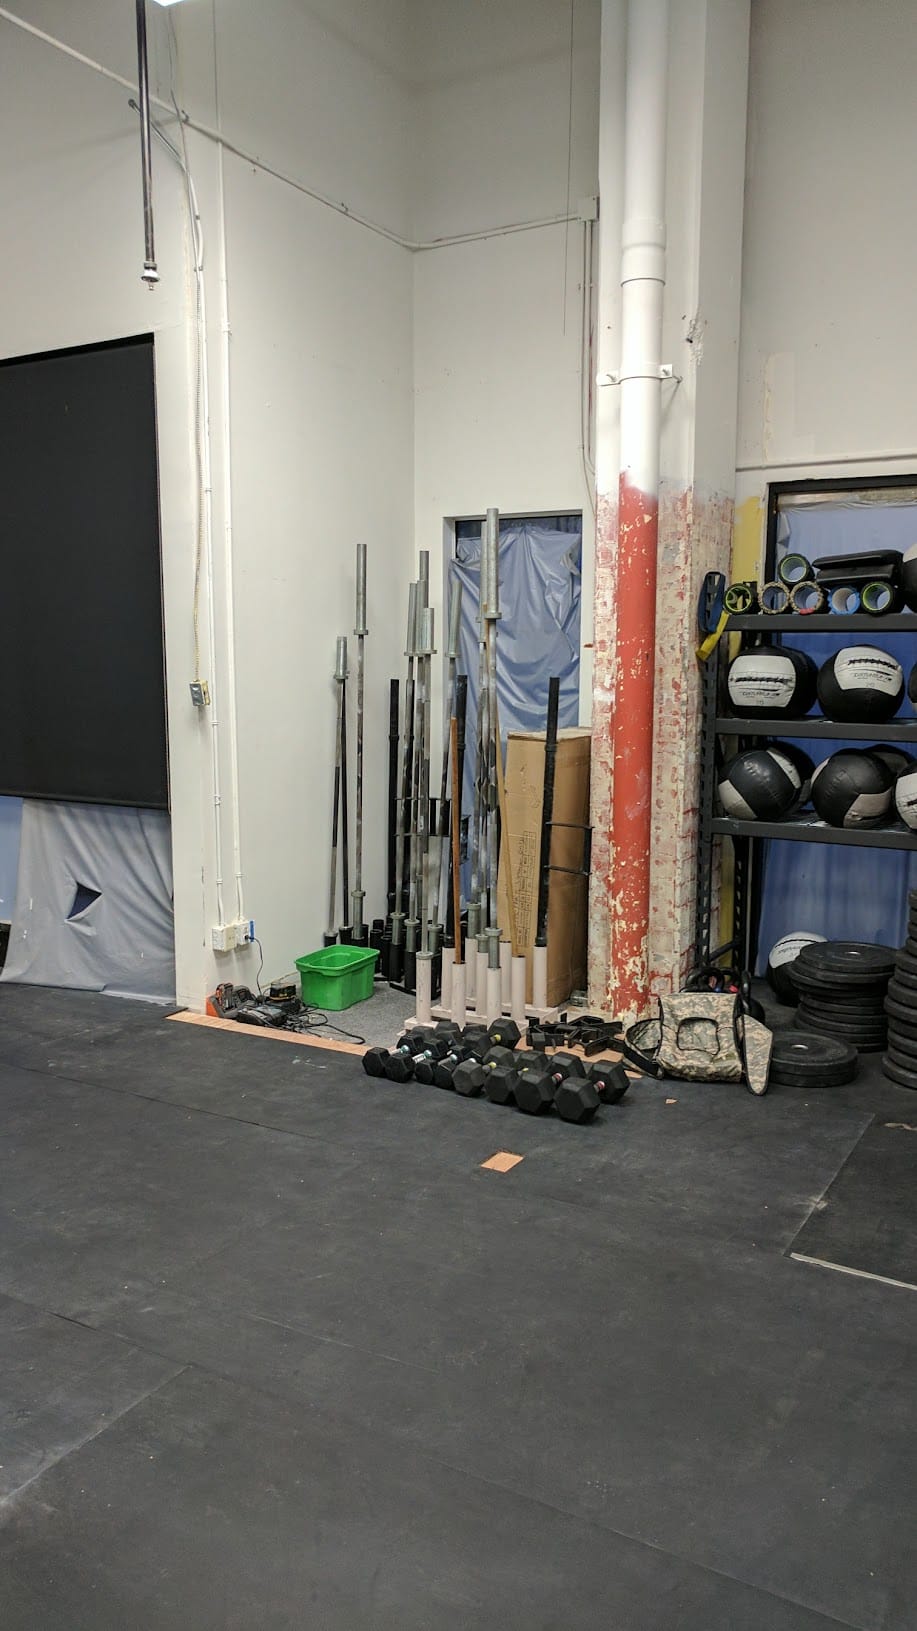
During COVID there wasn't much of a budget to try to fix the floor, but with everyone working out in taped squares, if you had a lumpy spot you were stuck with it. It wasn’t until 2025, after finally fully recovering financially, that my accountant finally gave me the green light to try and fix it properly.
For the first time in 14 years, Raincity closed for more than two days (outside of COVID shutdowns) so I could rebuild the floor the way it always should have been done.
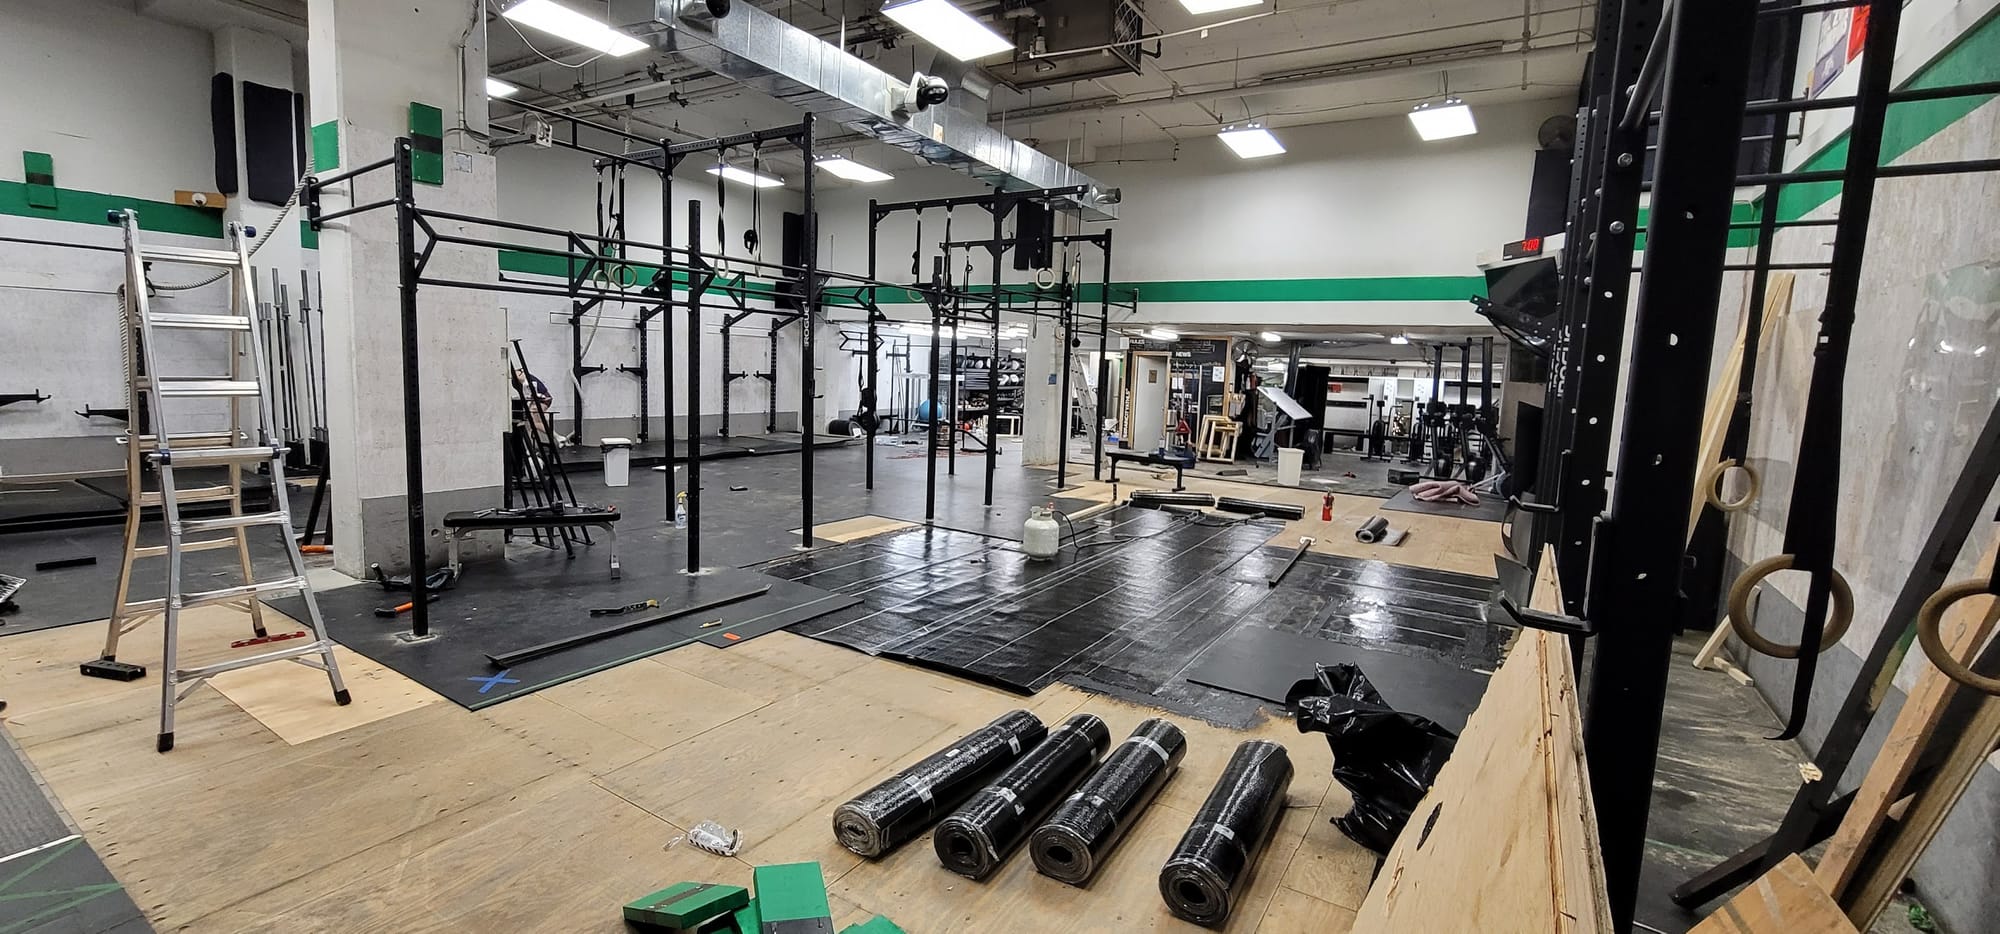
2025: Raincity Athletics 3.0
The final update, and the big discovery.
For anyone wondering why you felt bumps and lumps under your feet, this is what five-plus years of attempted fixes looked like...
Raincity Holiday Renos - Each day in :30 timelapse
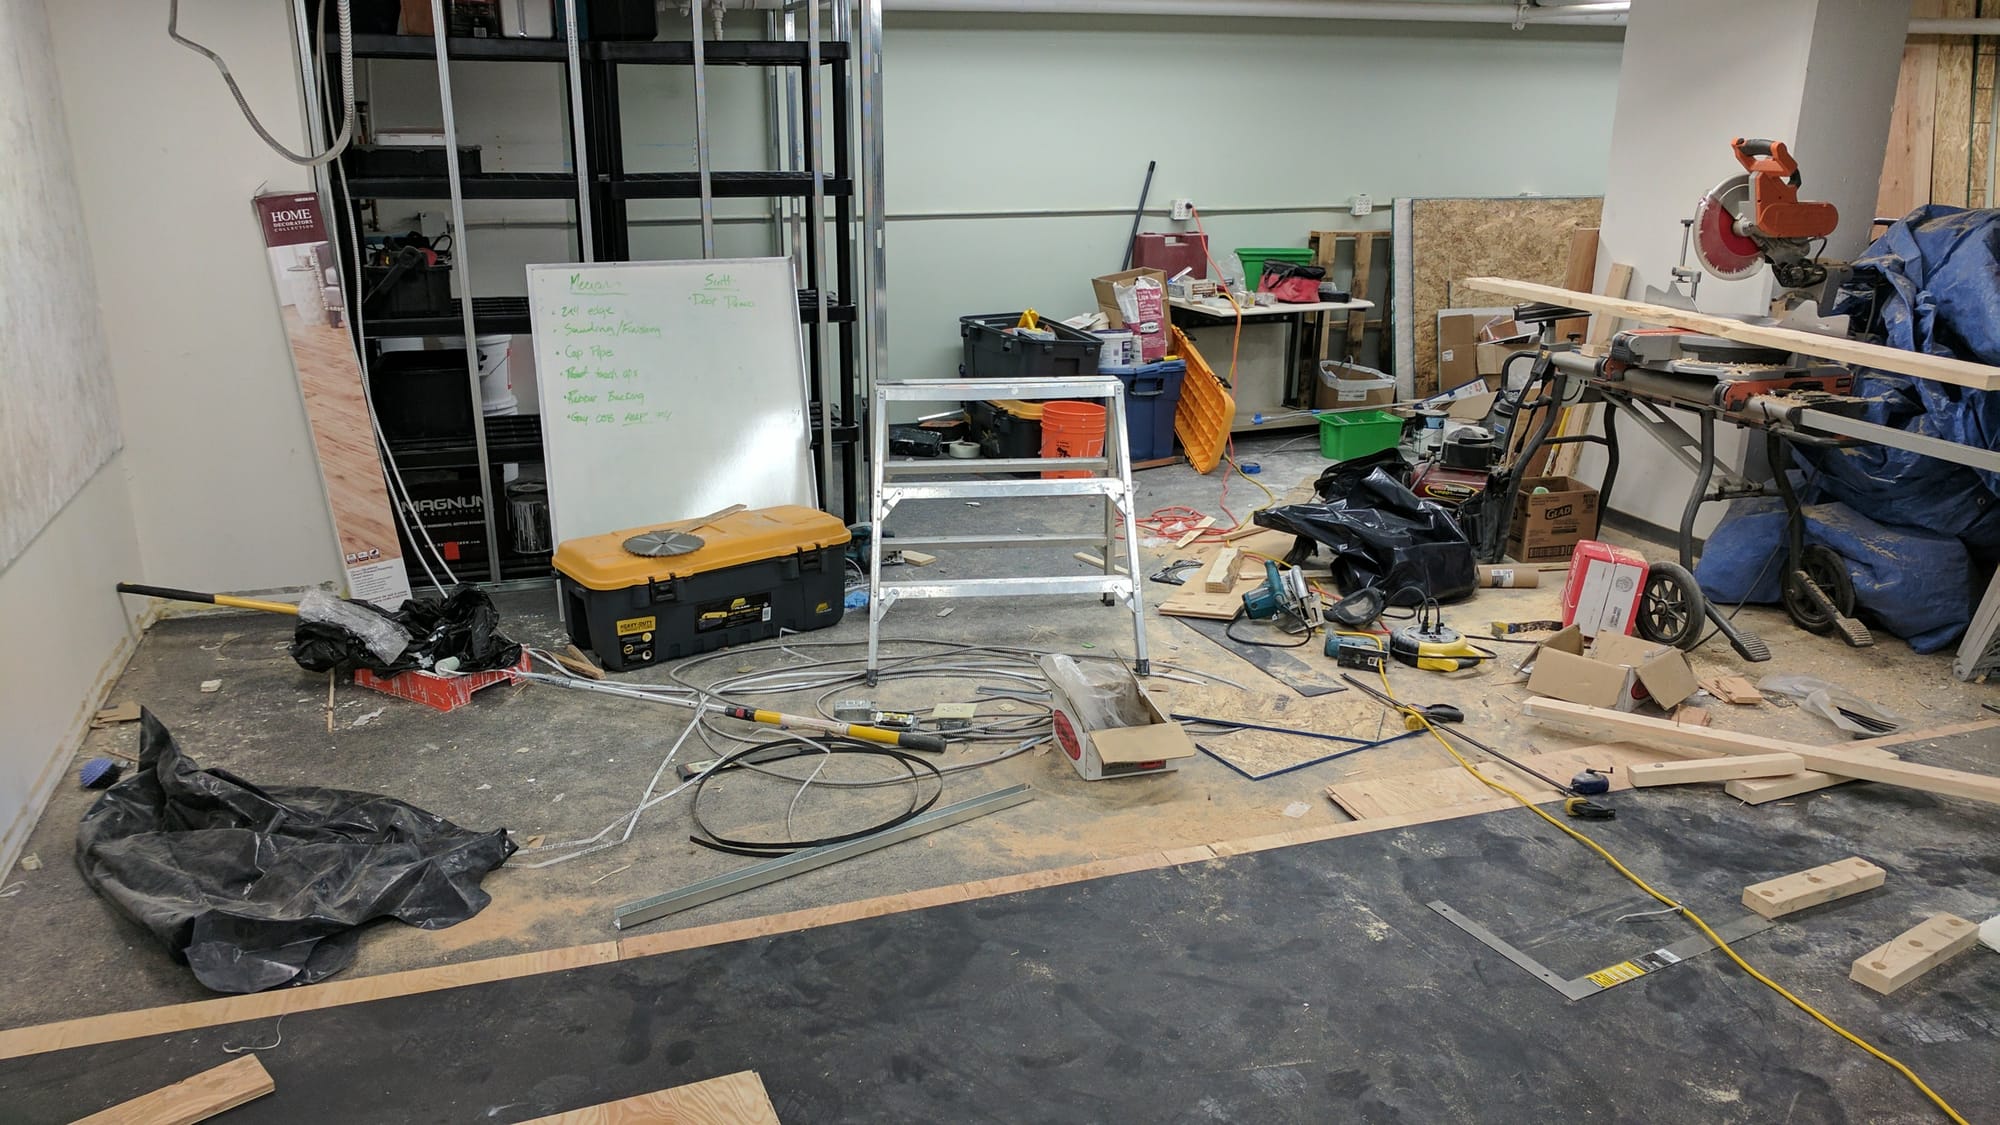
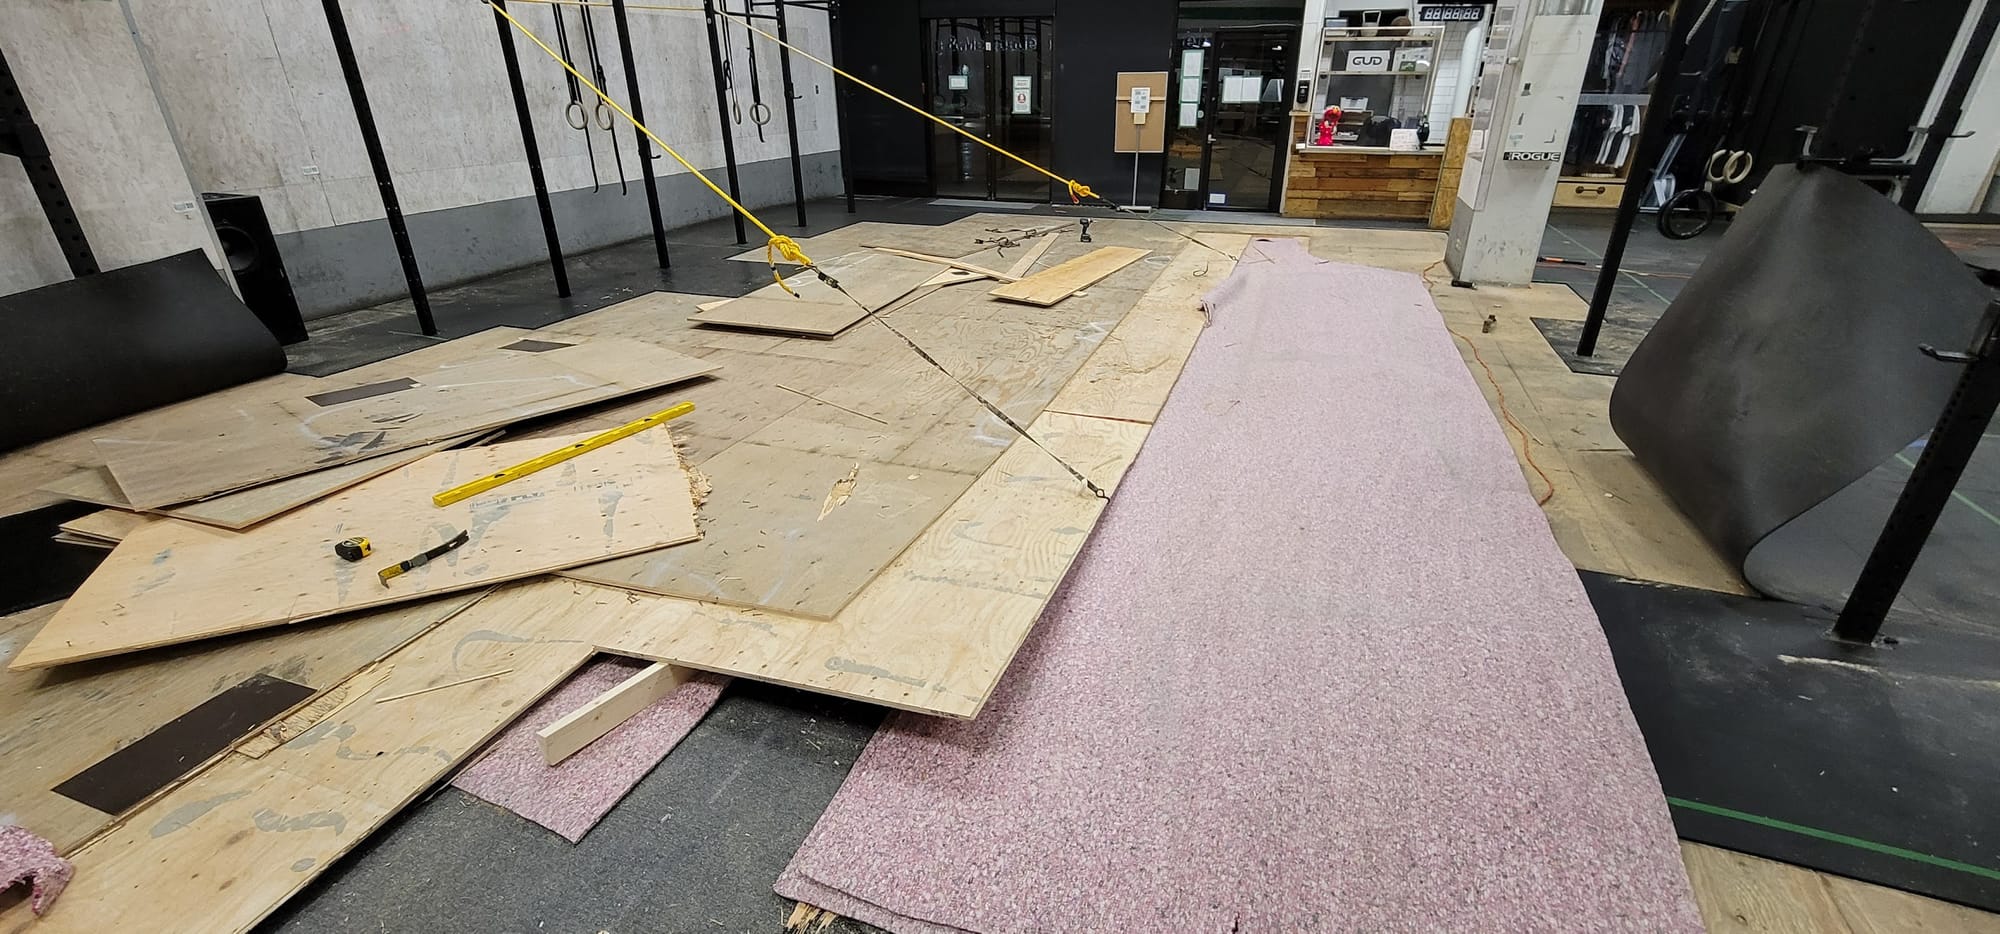
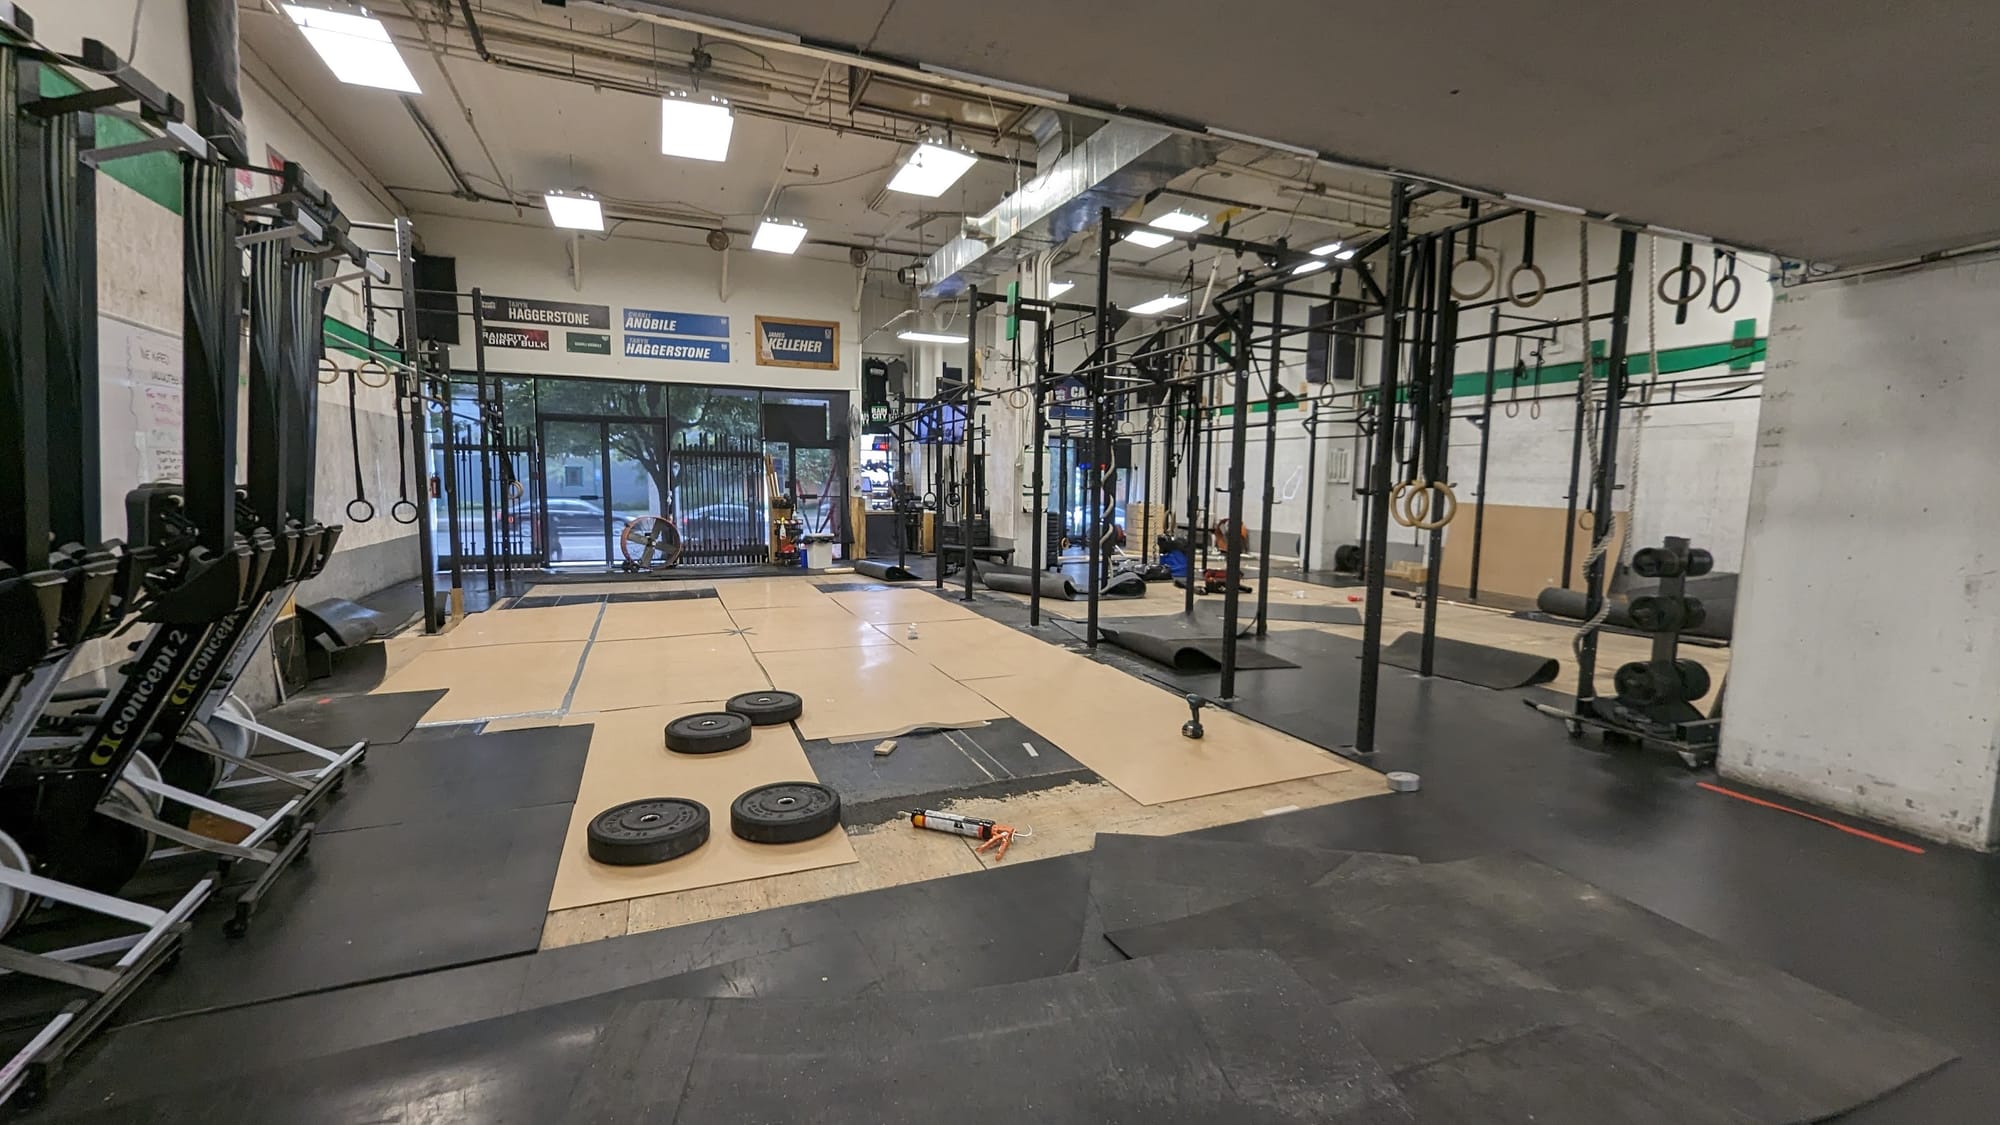
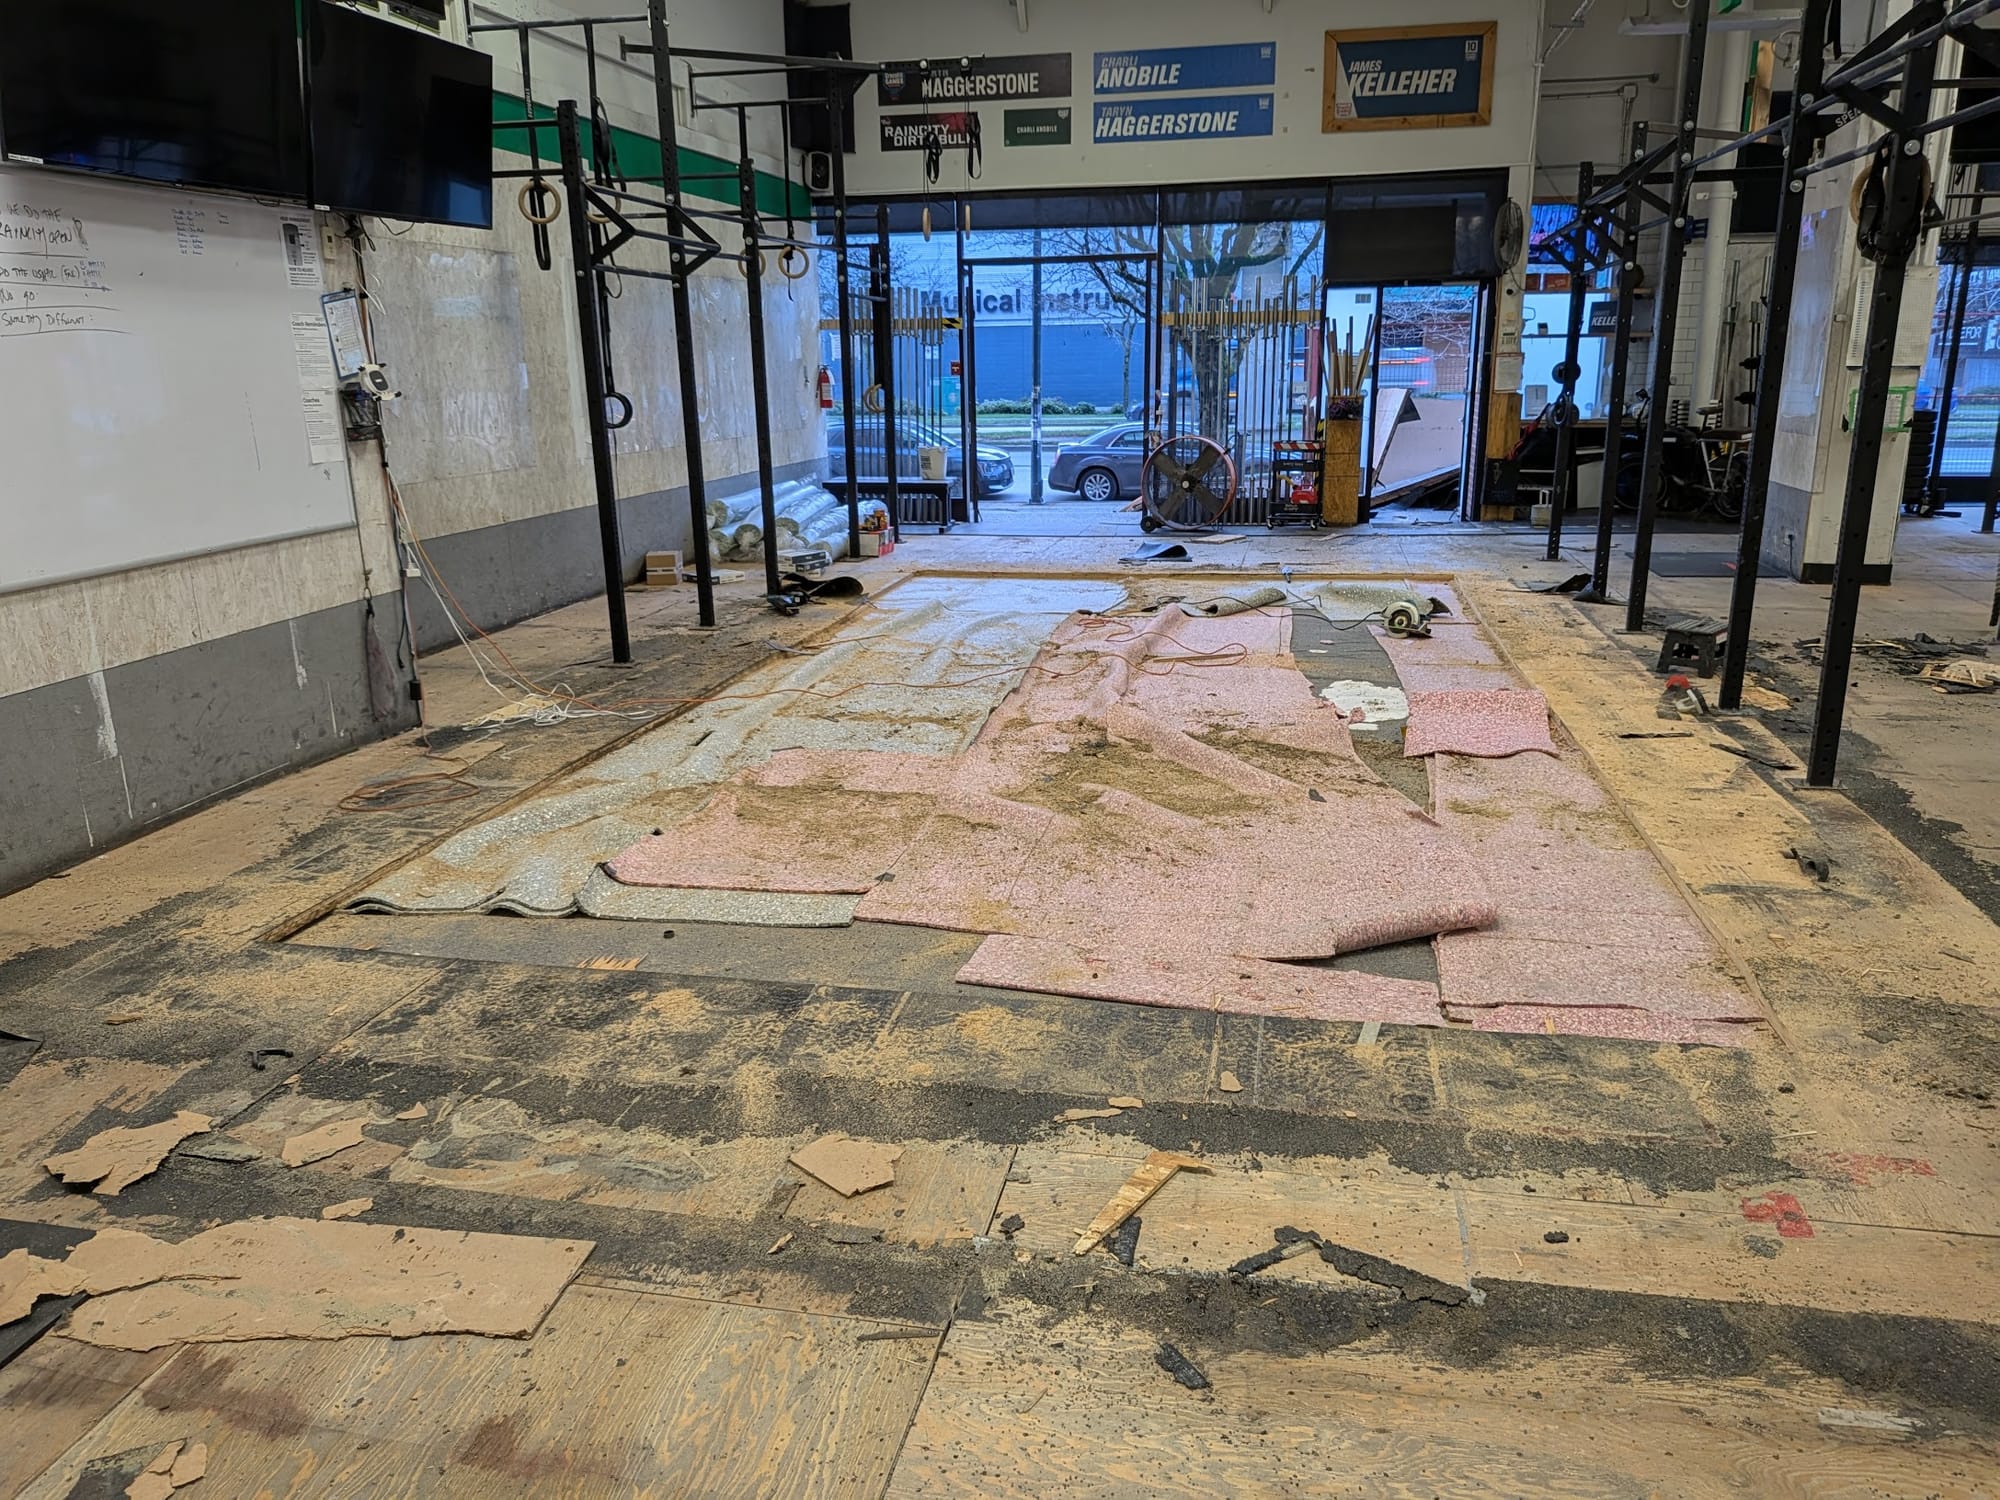
Day 1 - Dec 23rd:
Pulling Everything up & Cutting it Out
Huge thank you to the members who helped clear the floor. Removing years of layers and Christmas fixes was both triggering and deeply satisfying, knowing it would be the last time.
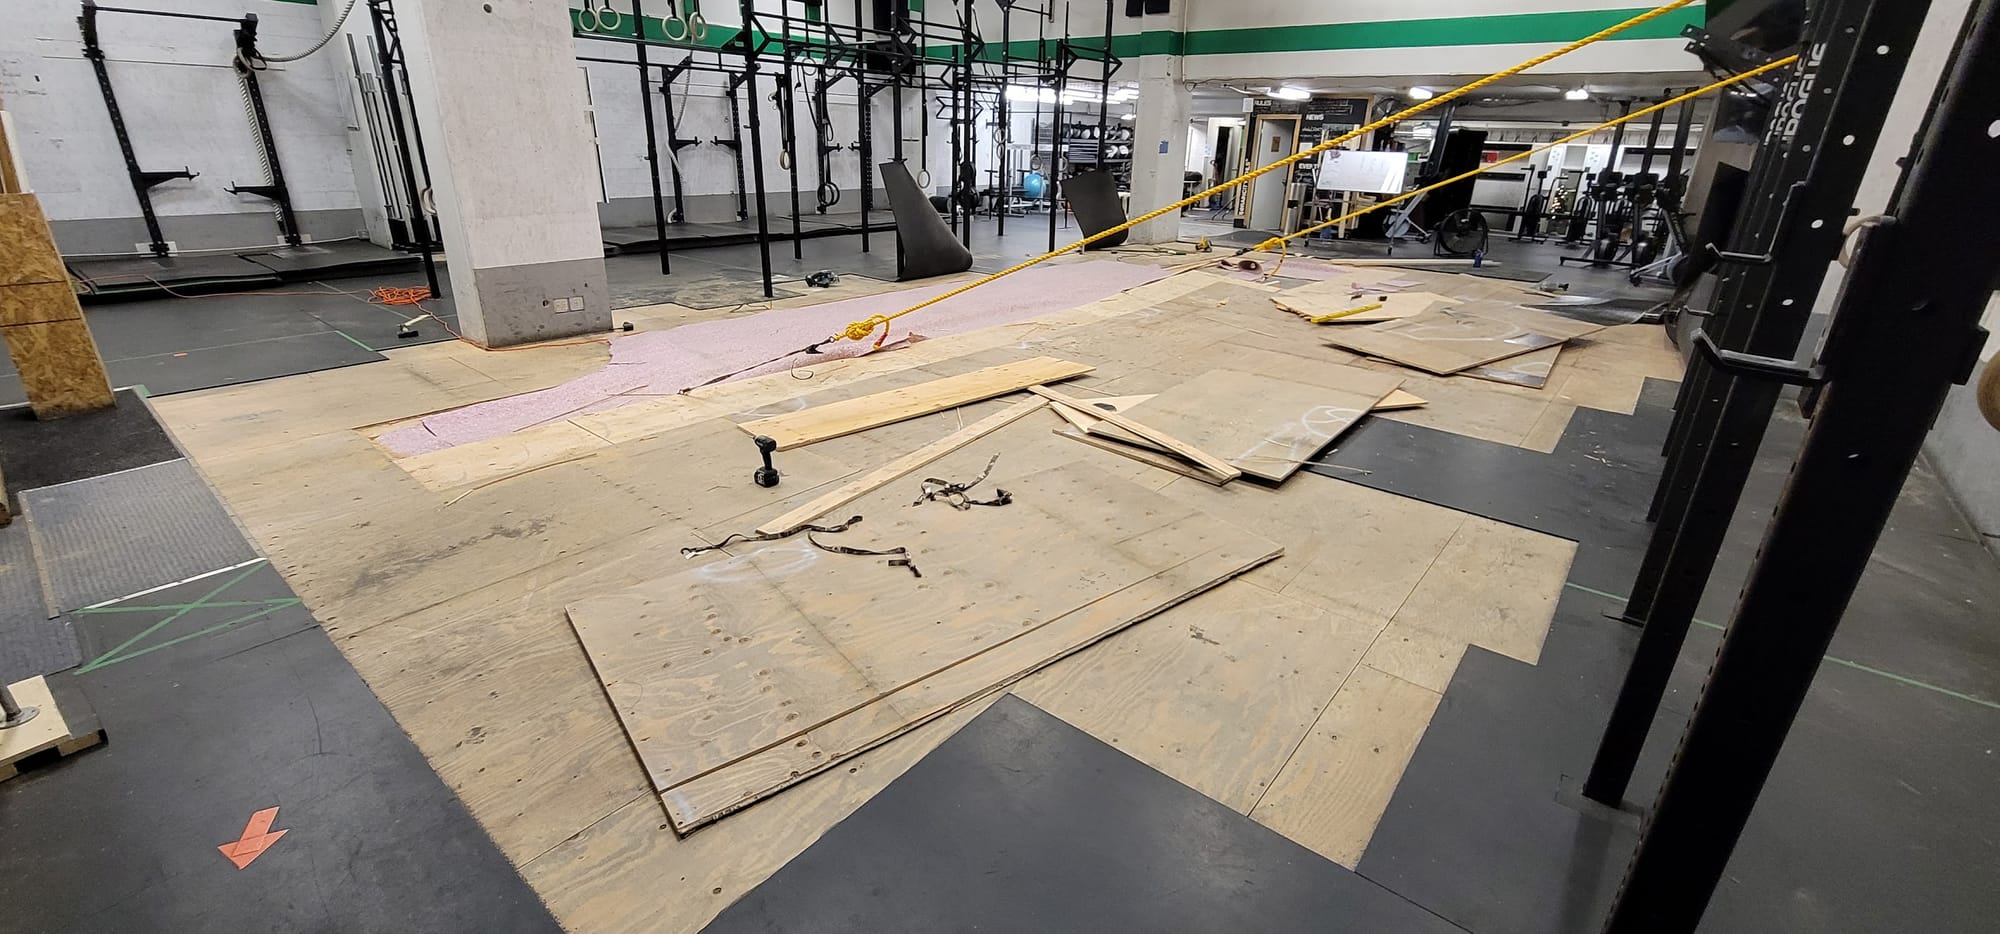
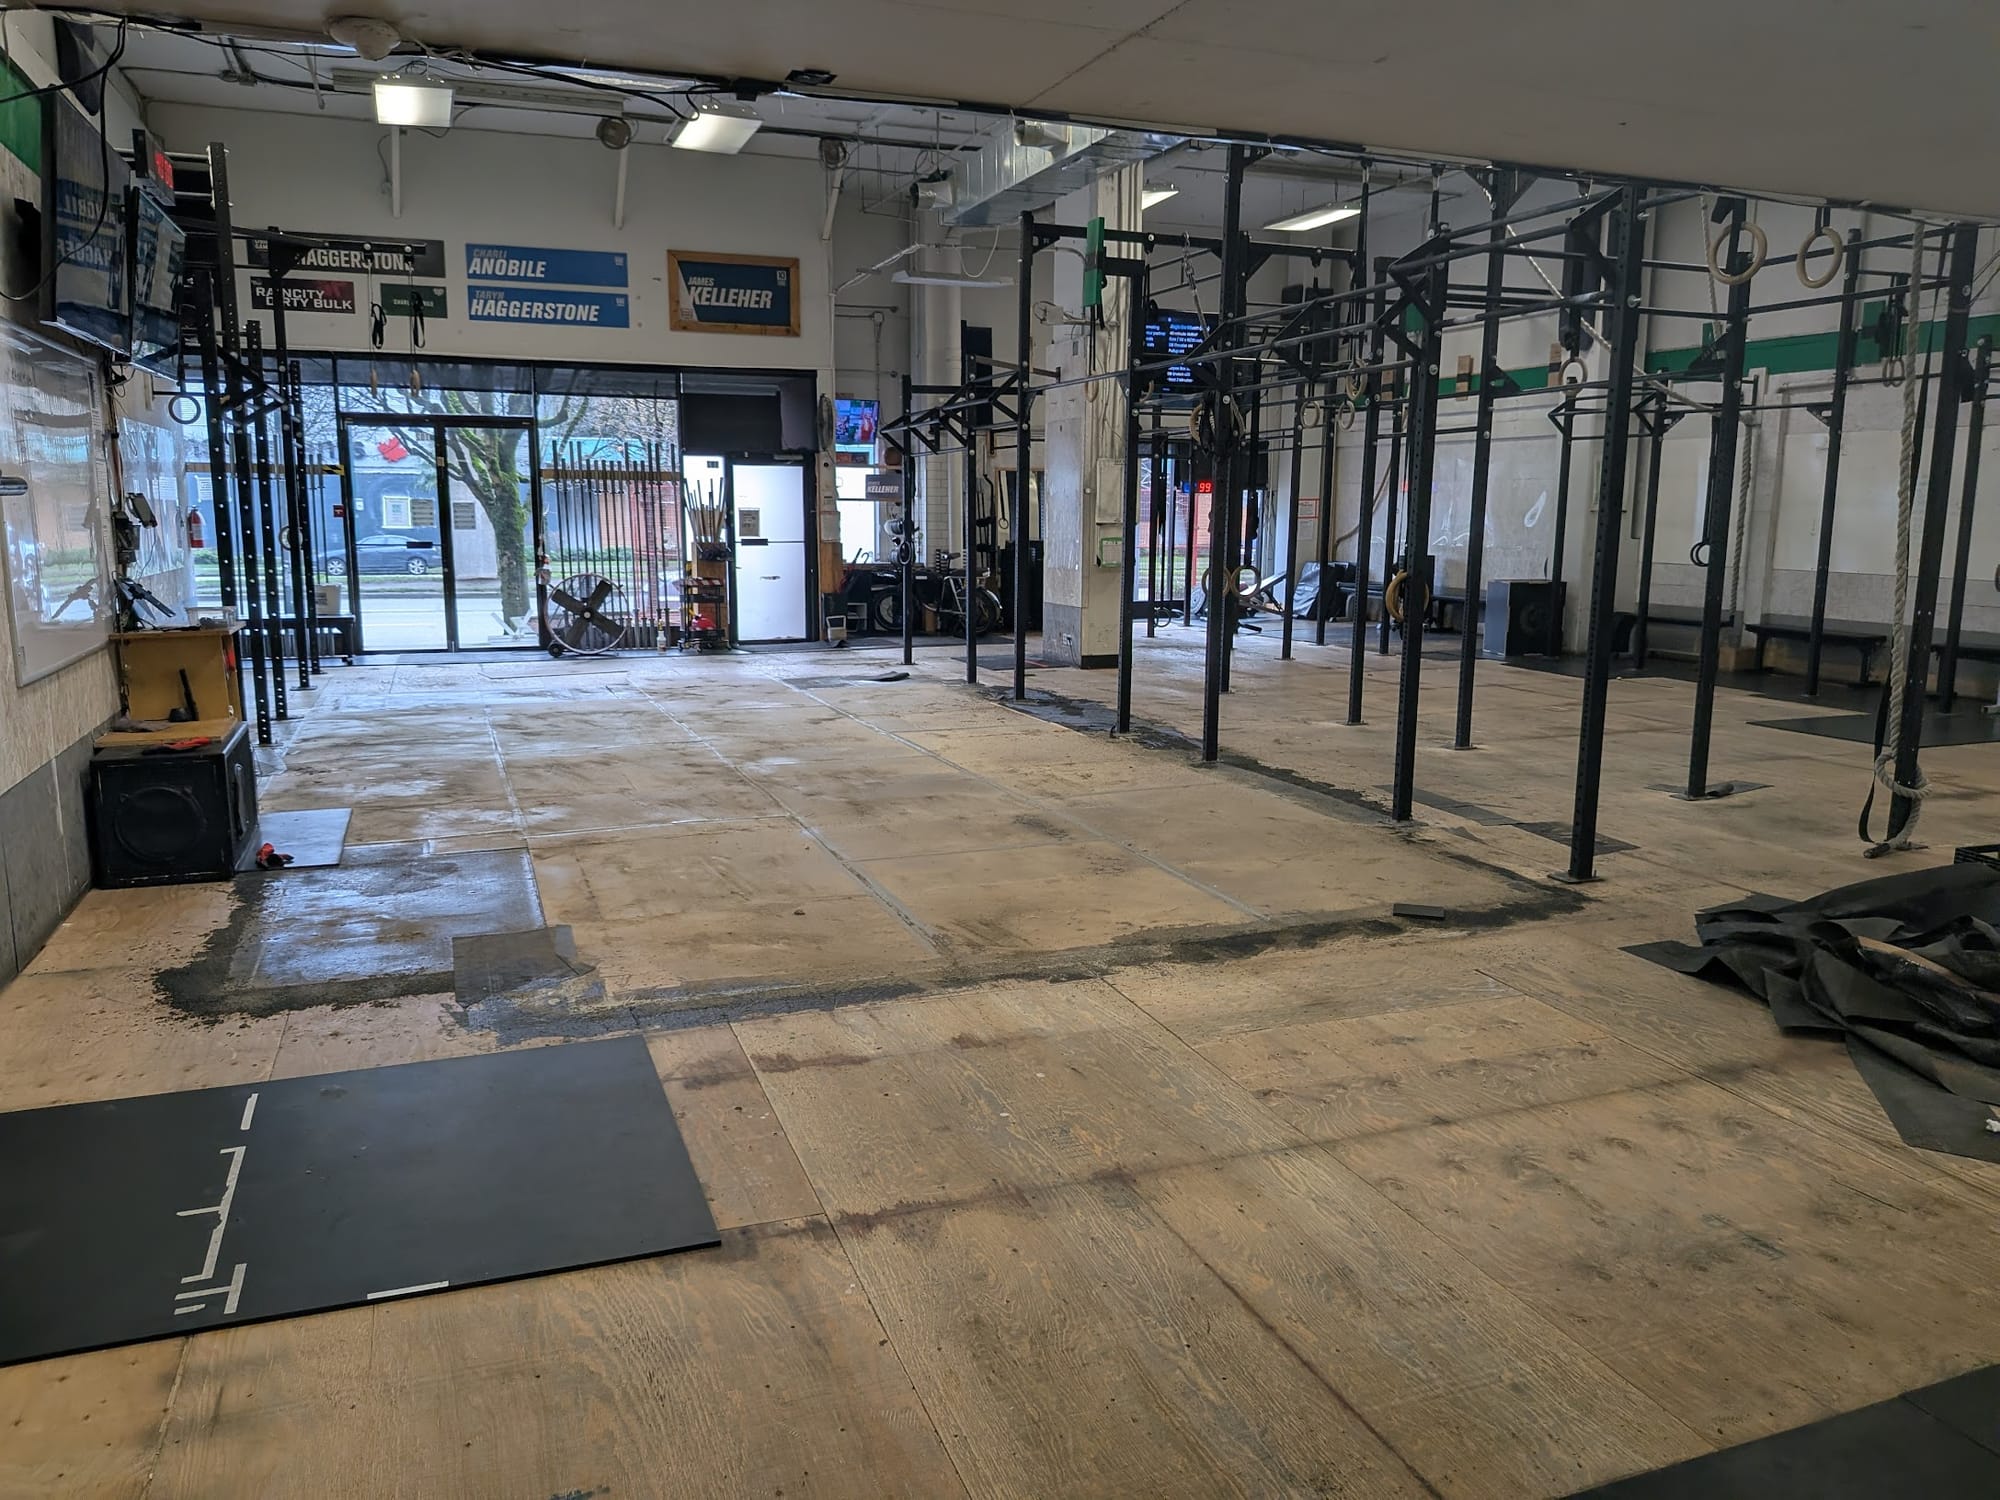
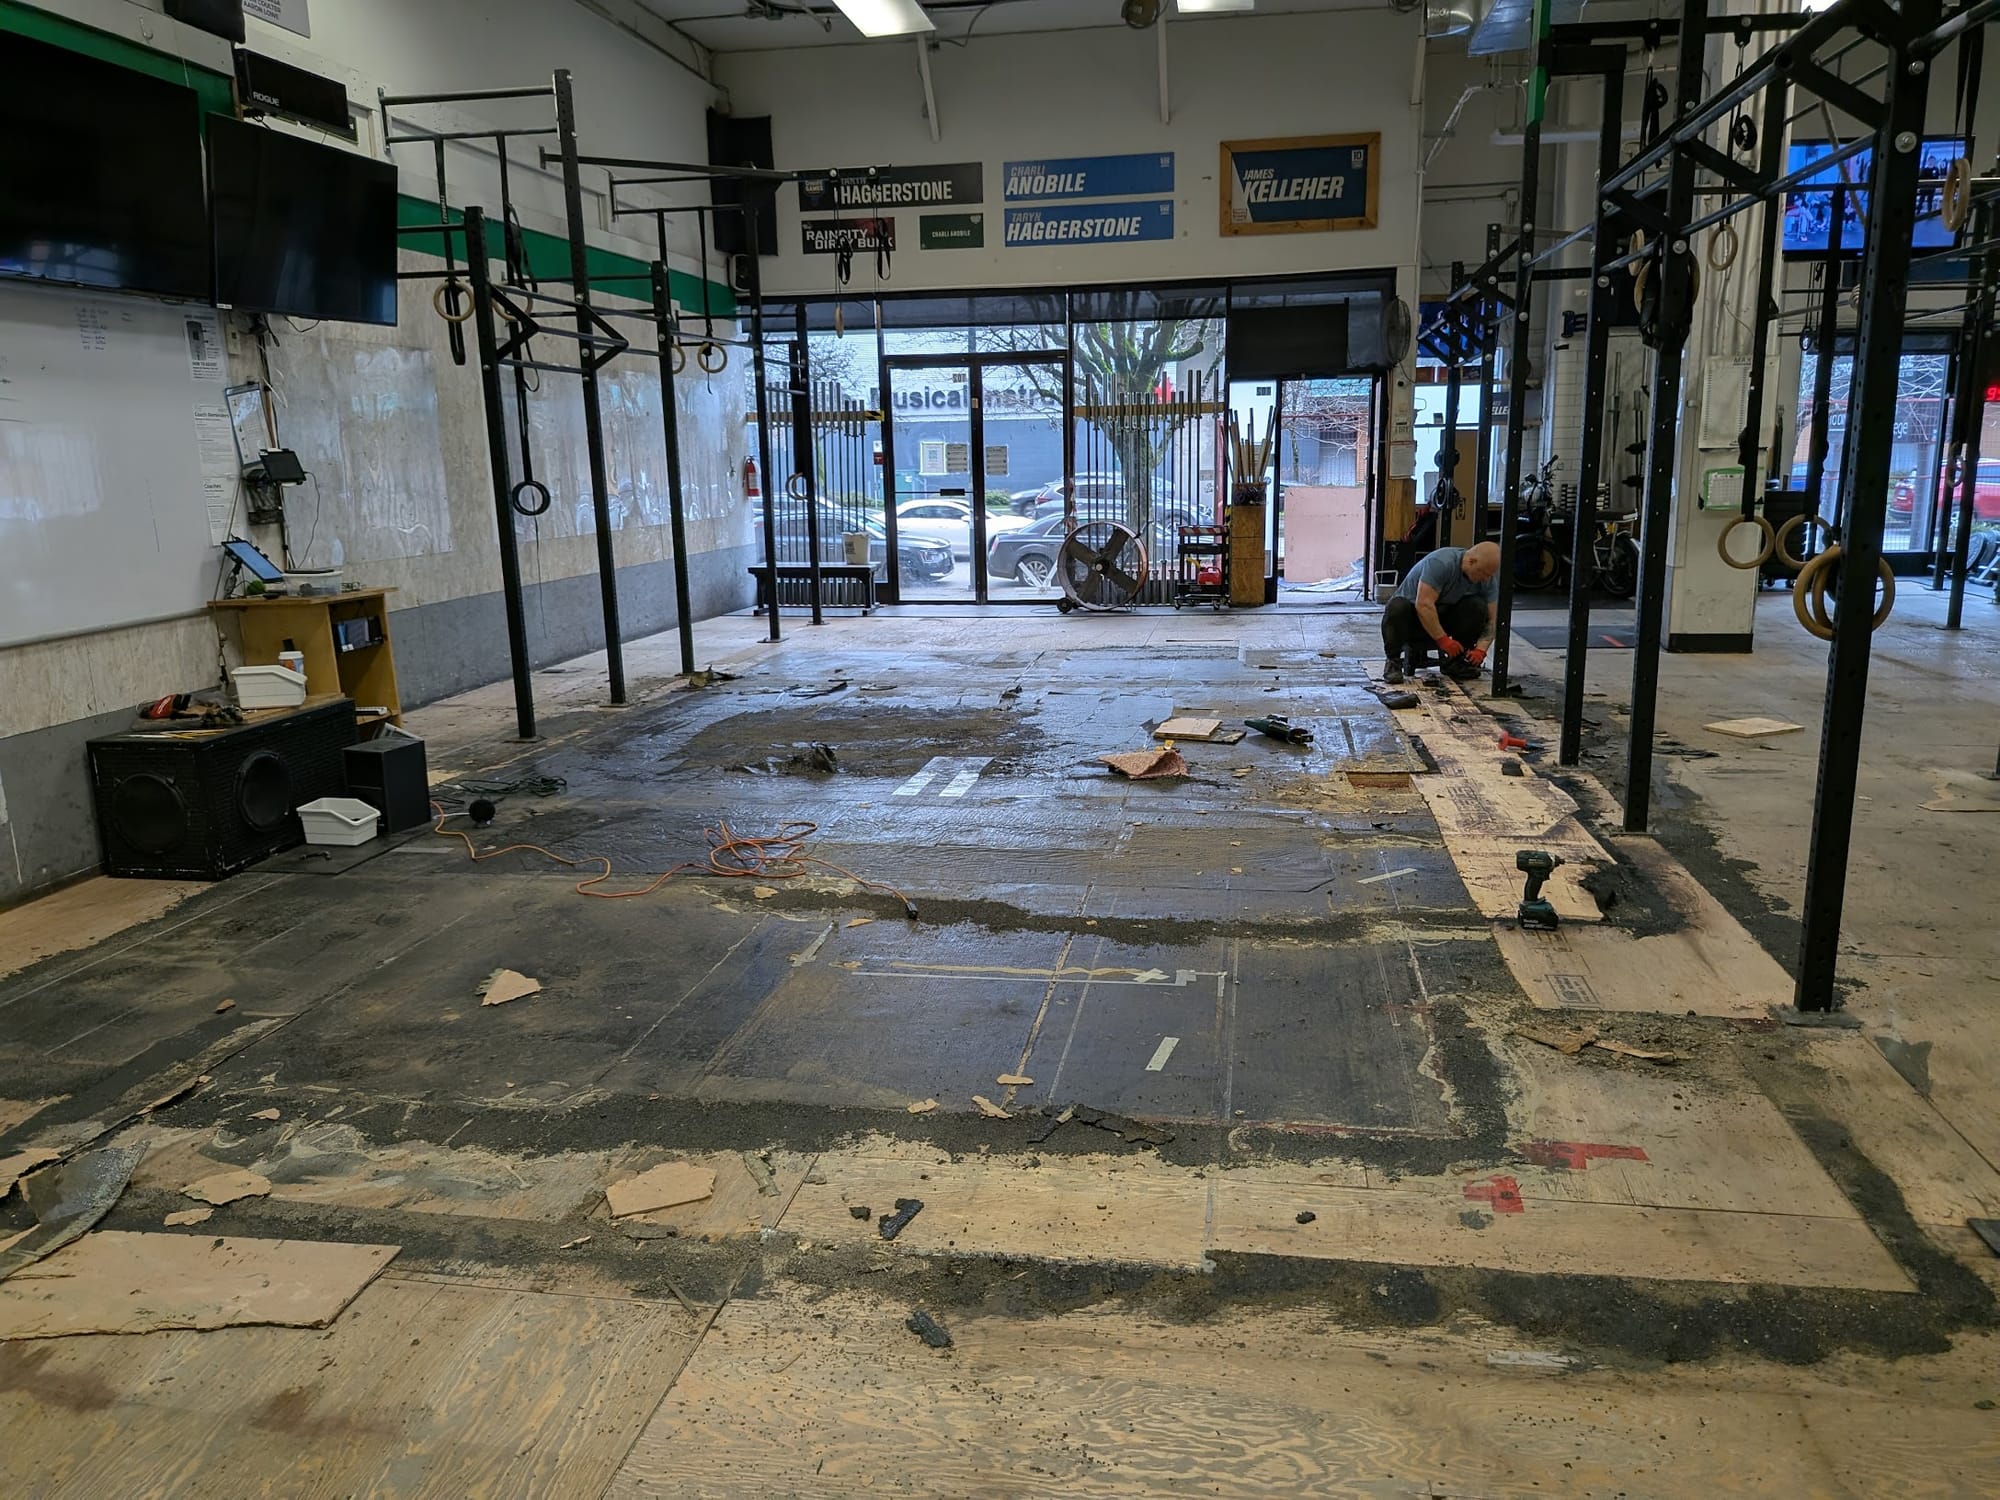
Day 2 - Dec 24th:
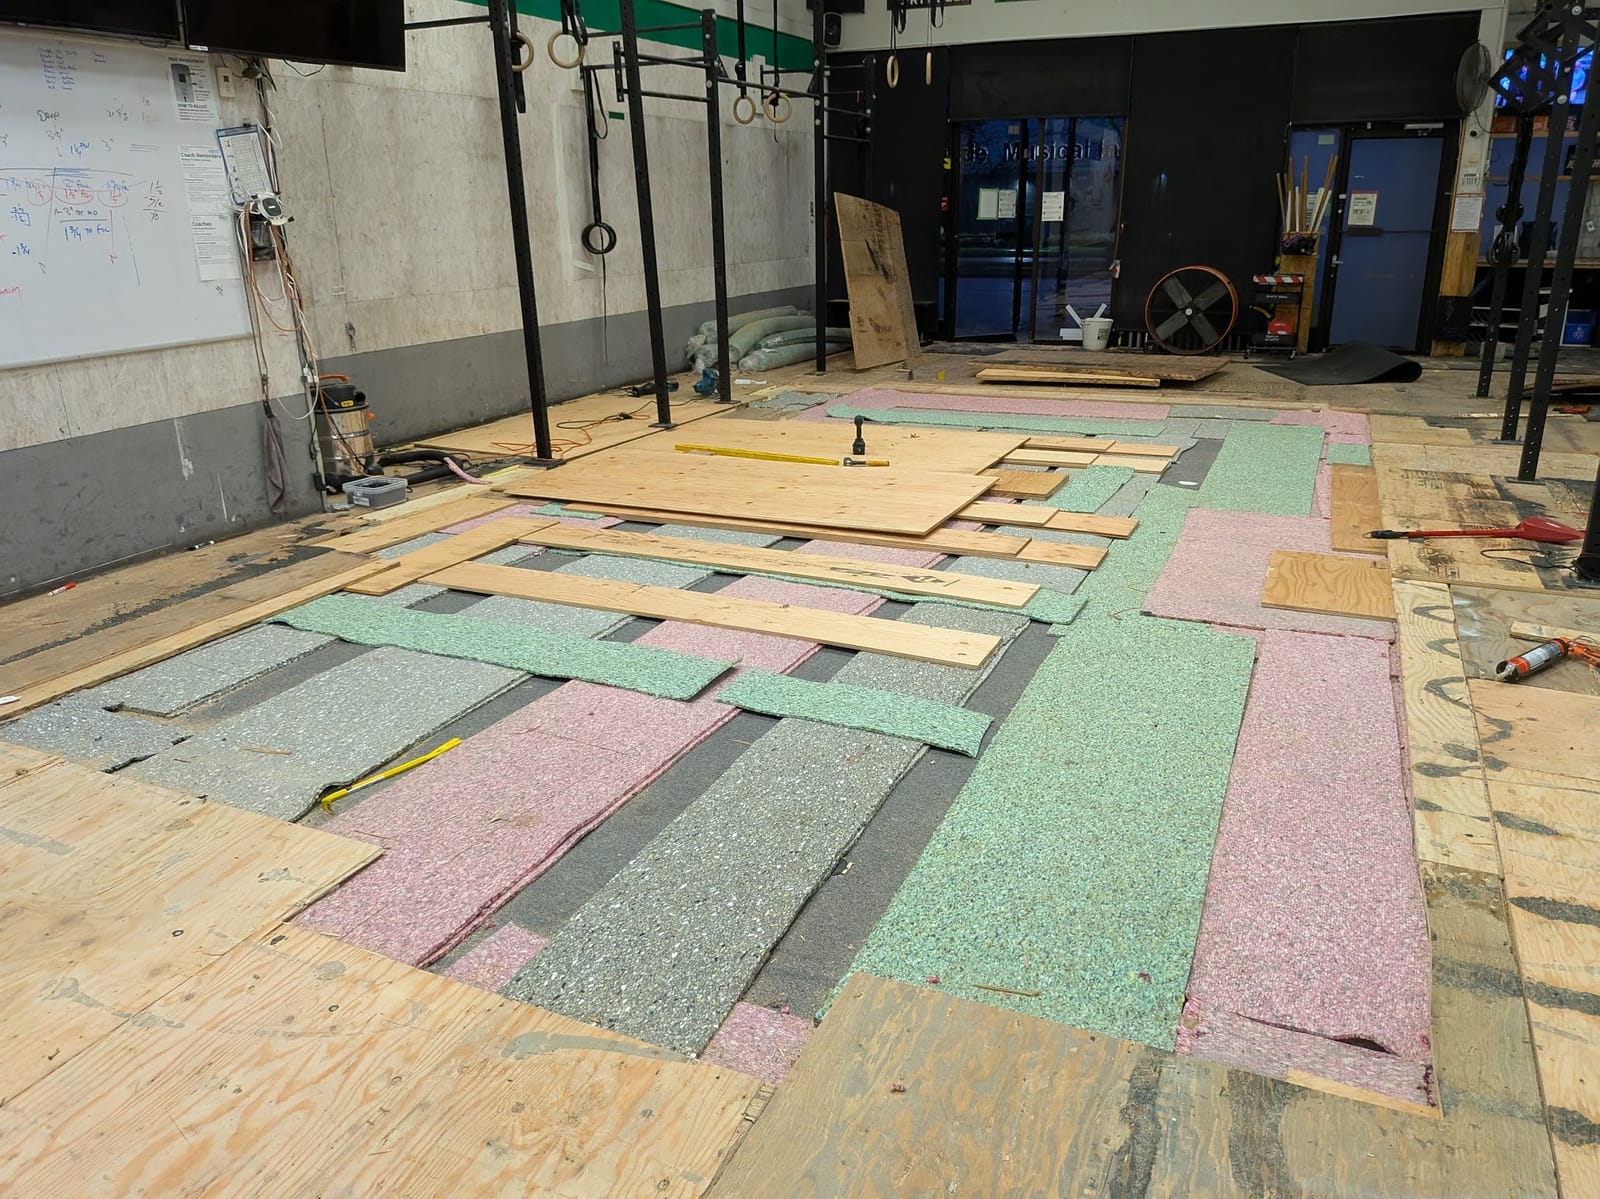
Clearing it our & Preparing to Rebuild
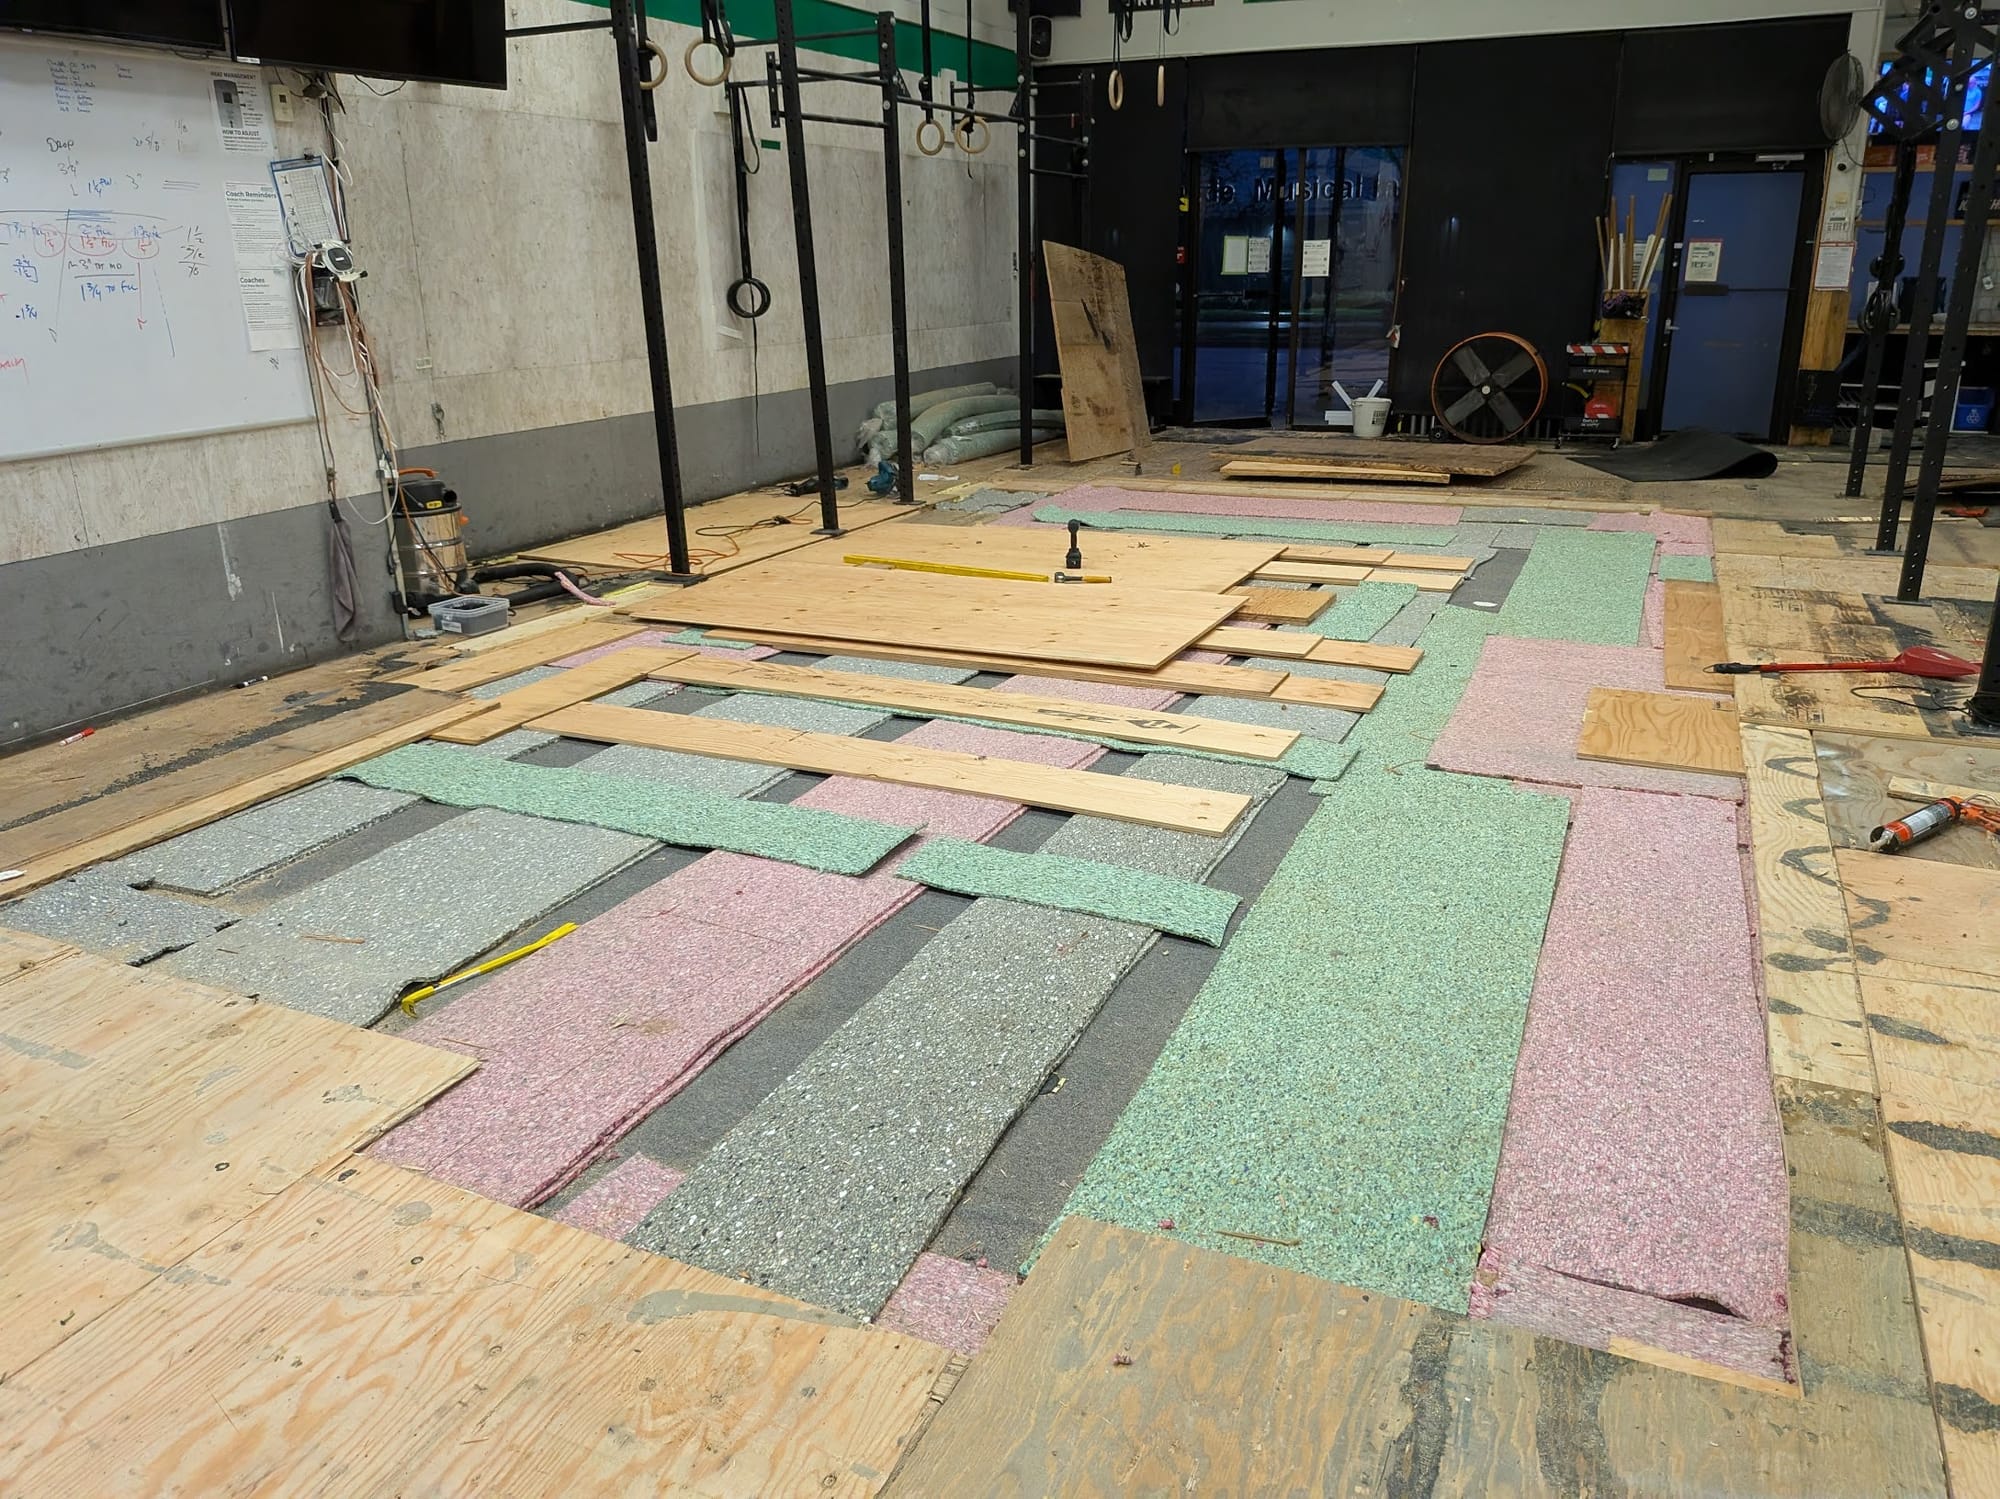
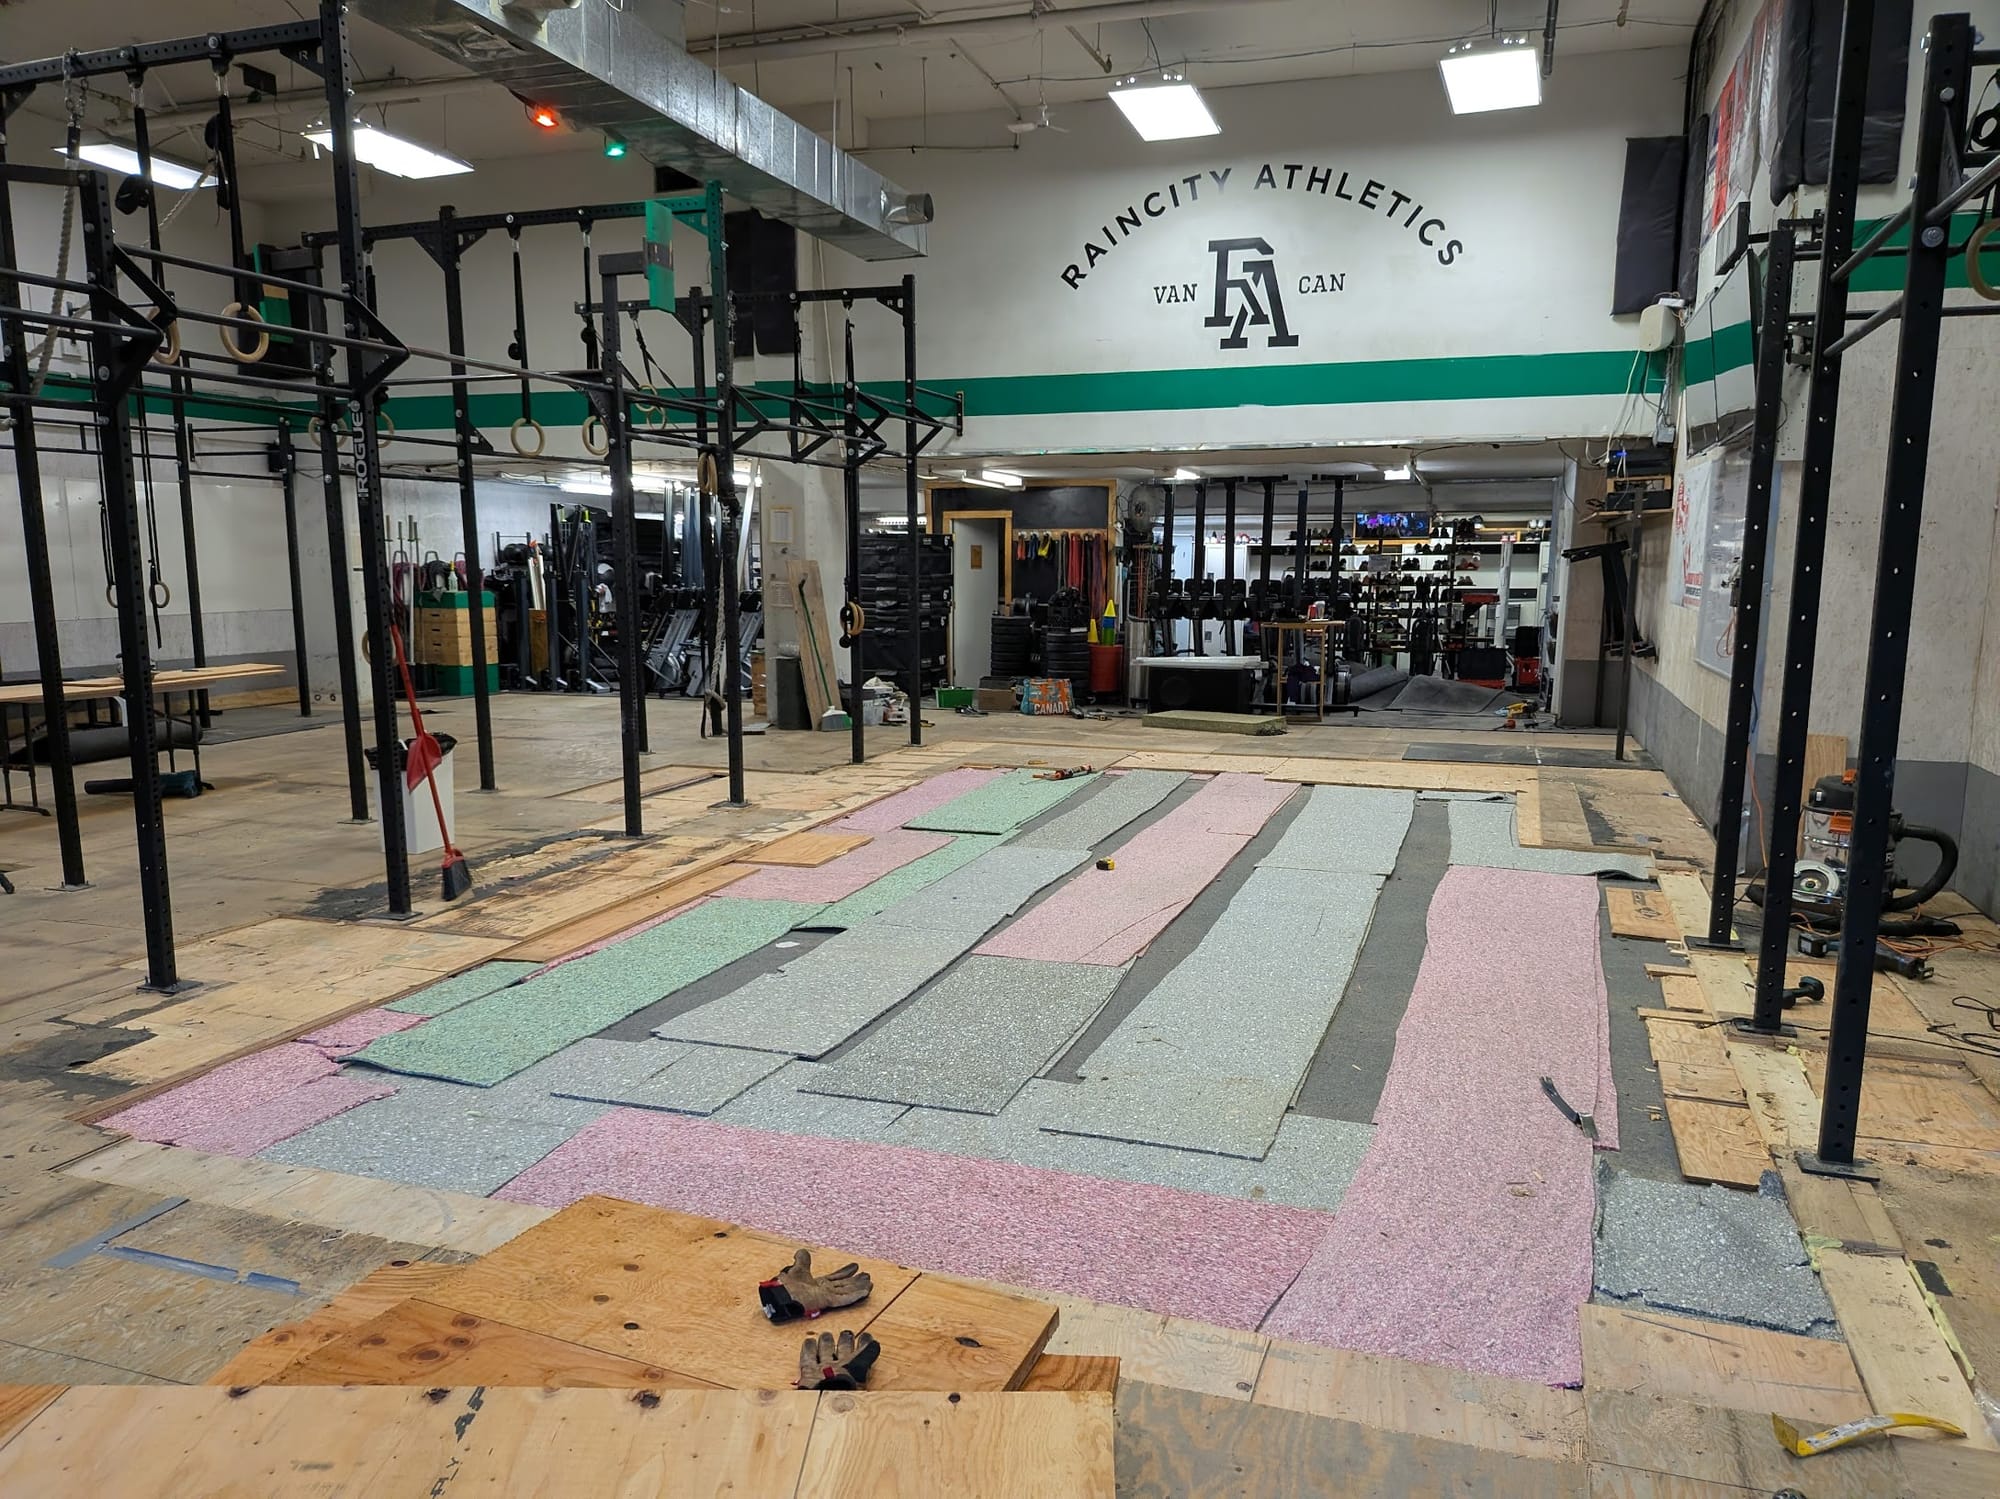
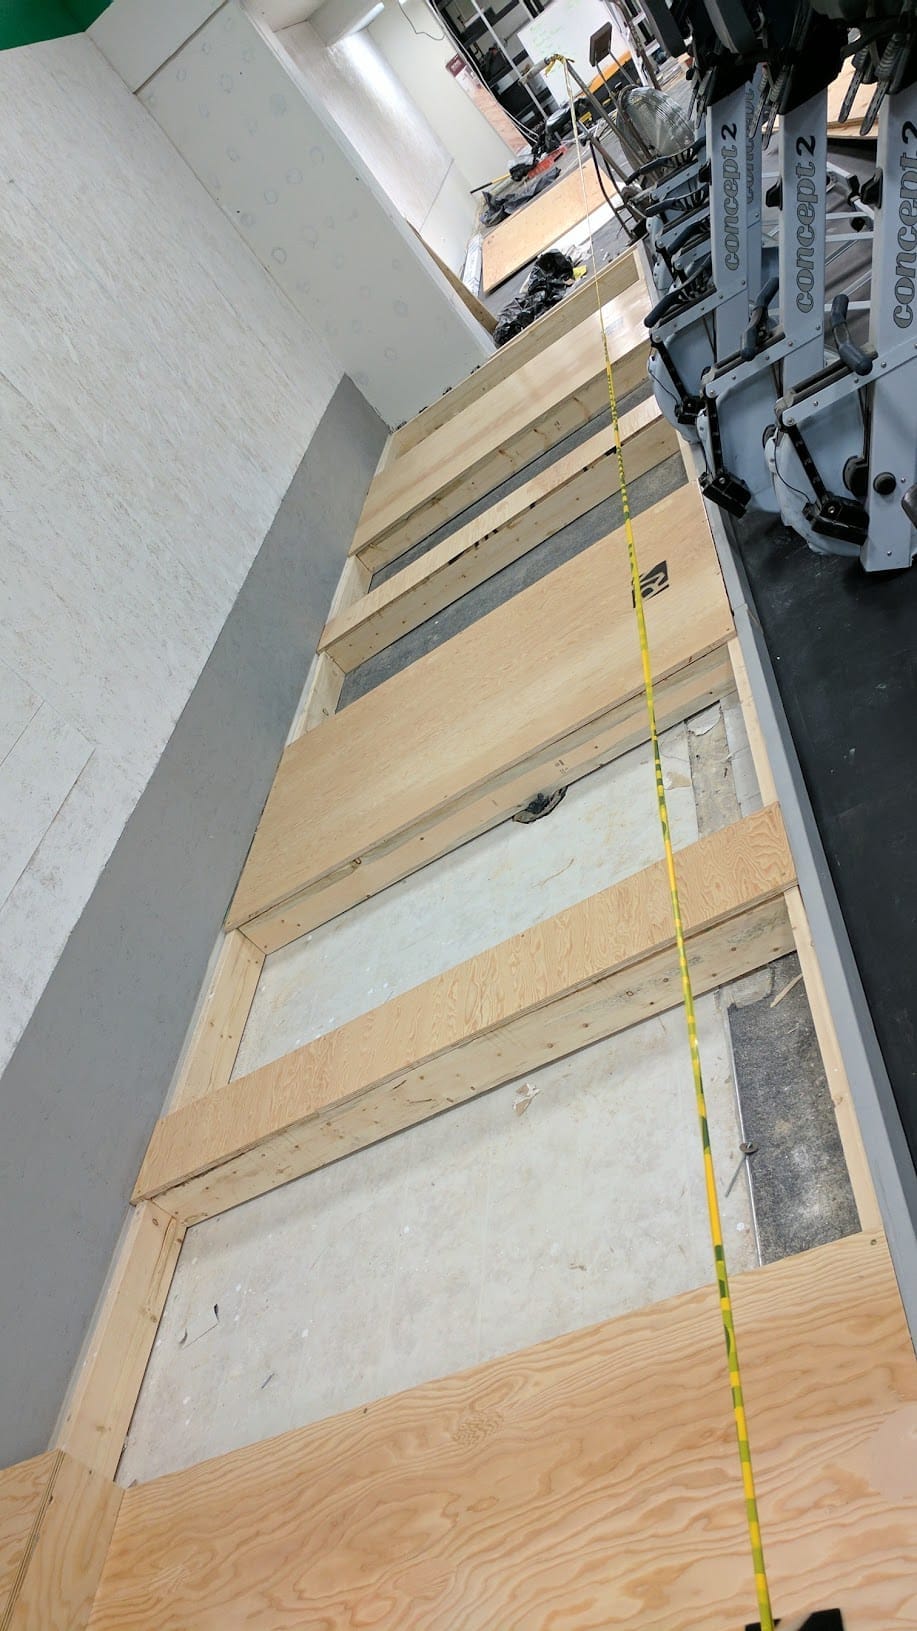
Once the center was removed, we assessed the situation, continued removing material, prepped the edges, and began laying carpet underlay in strips instead of full sheets. This turned out to be another missing piece. Full sheets had shifted over time, creating soft spots. Strips with gaps, lightly glued, solved that issue.
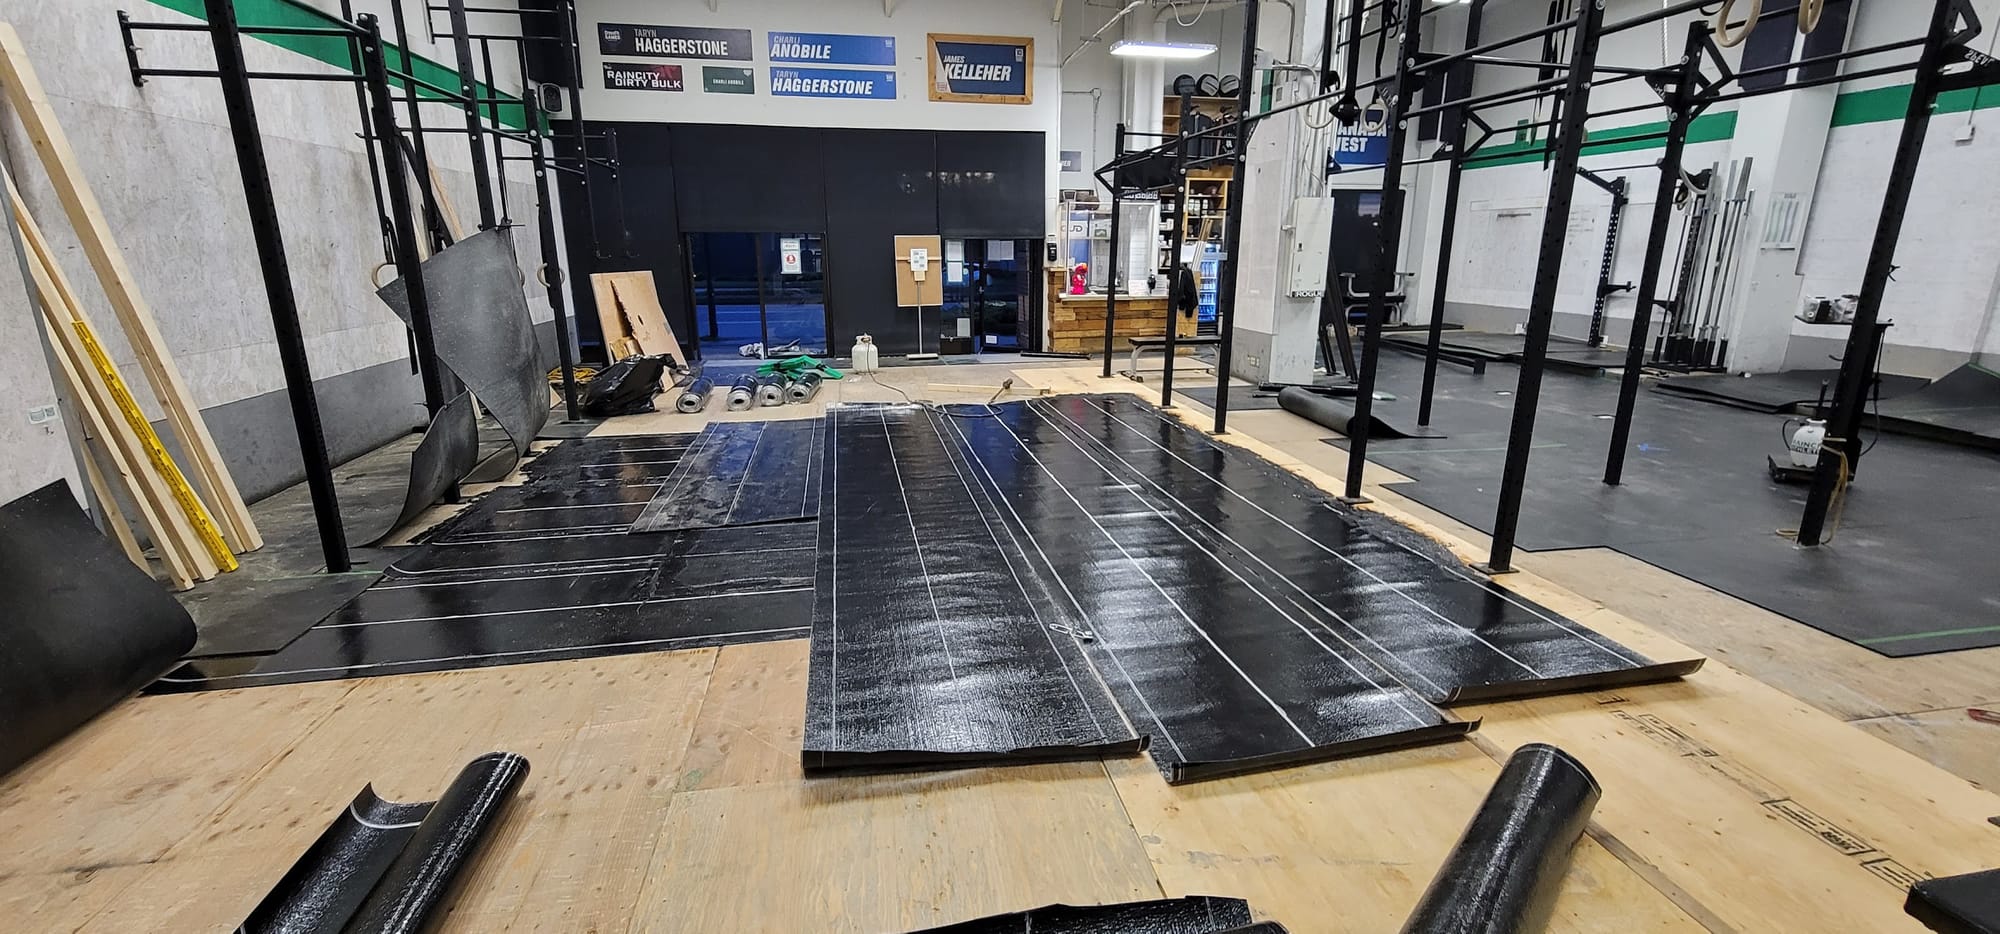
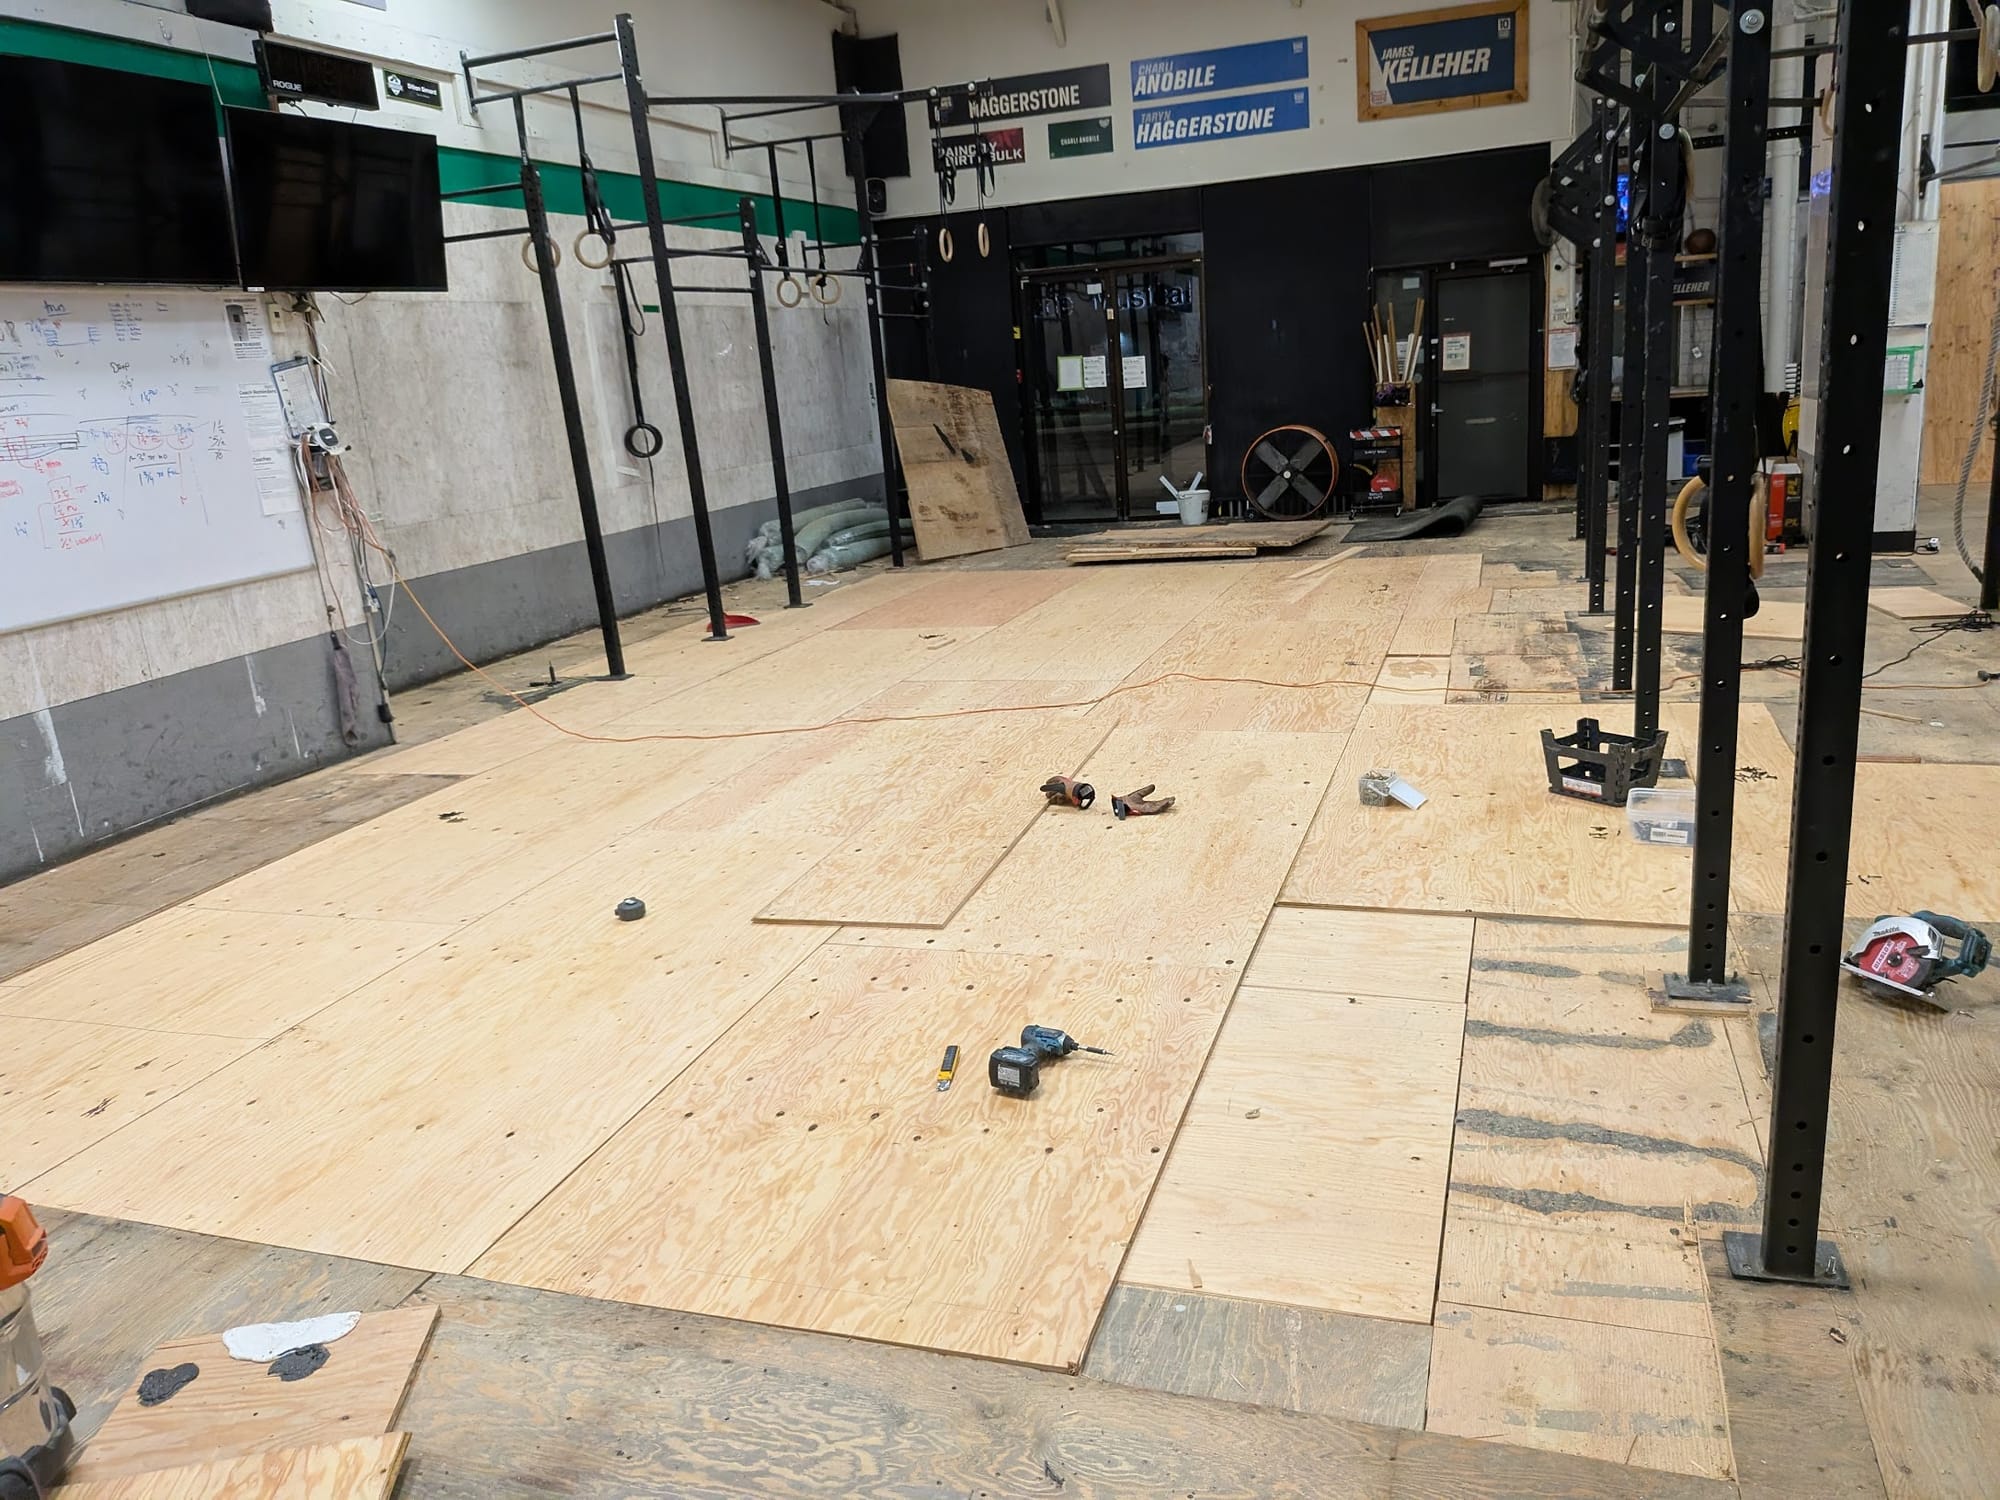
Day 3 - Dec 25th:
Leveling & Rebuilding
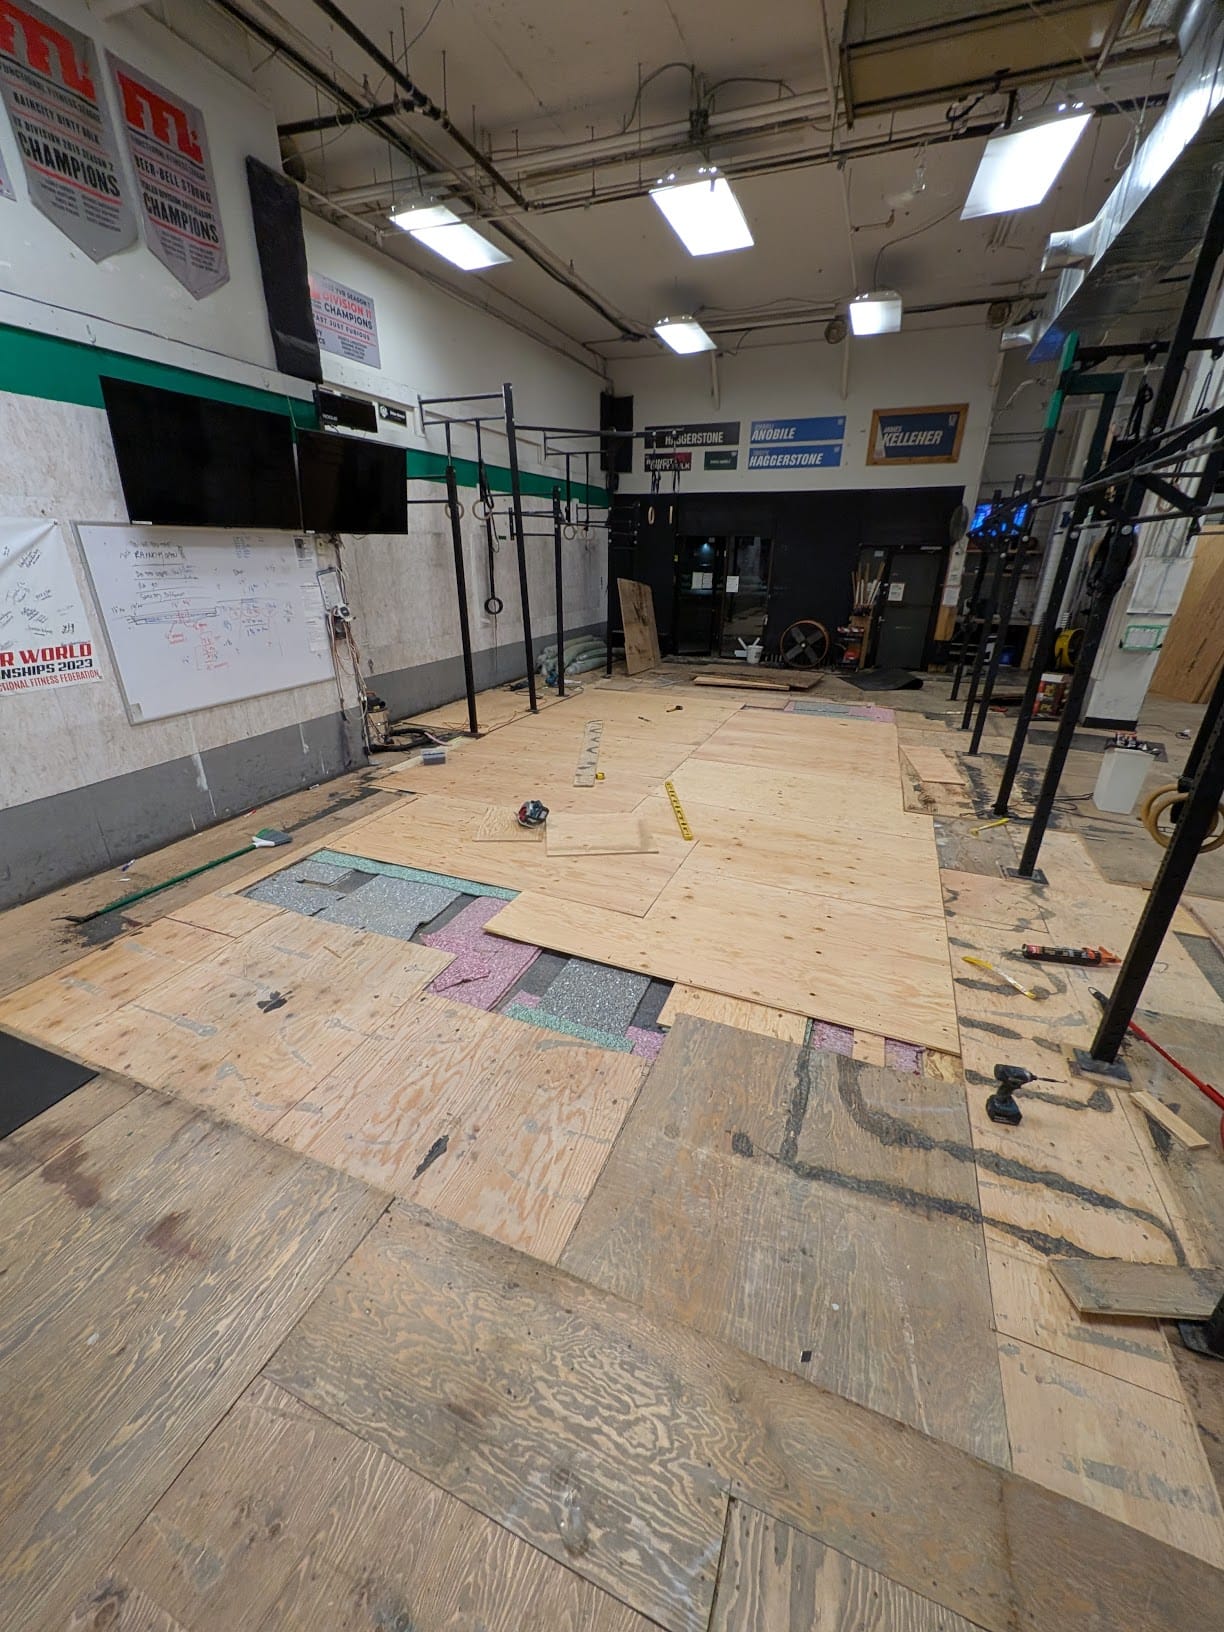
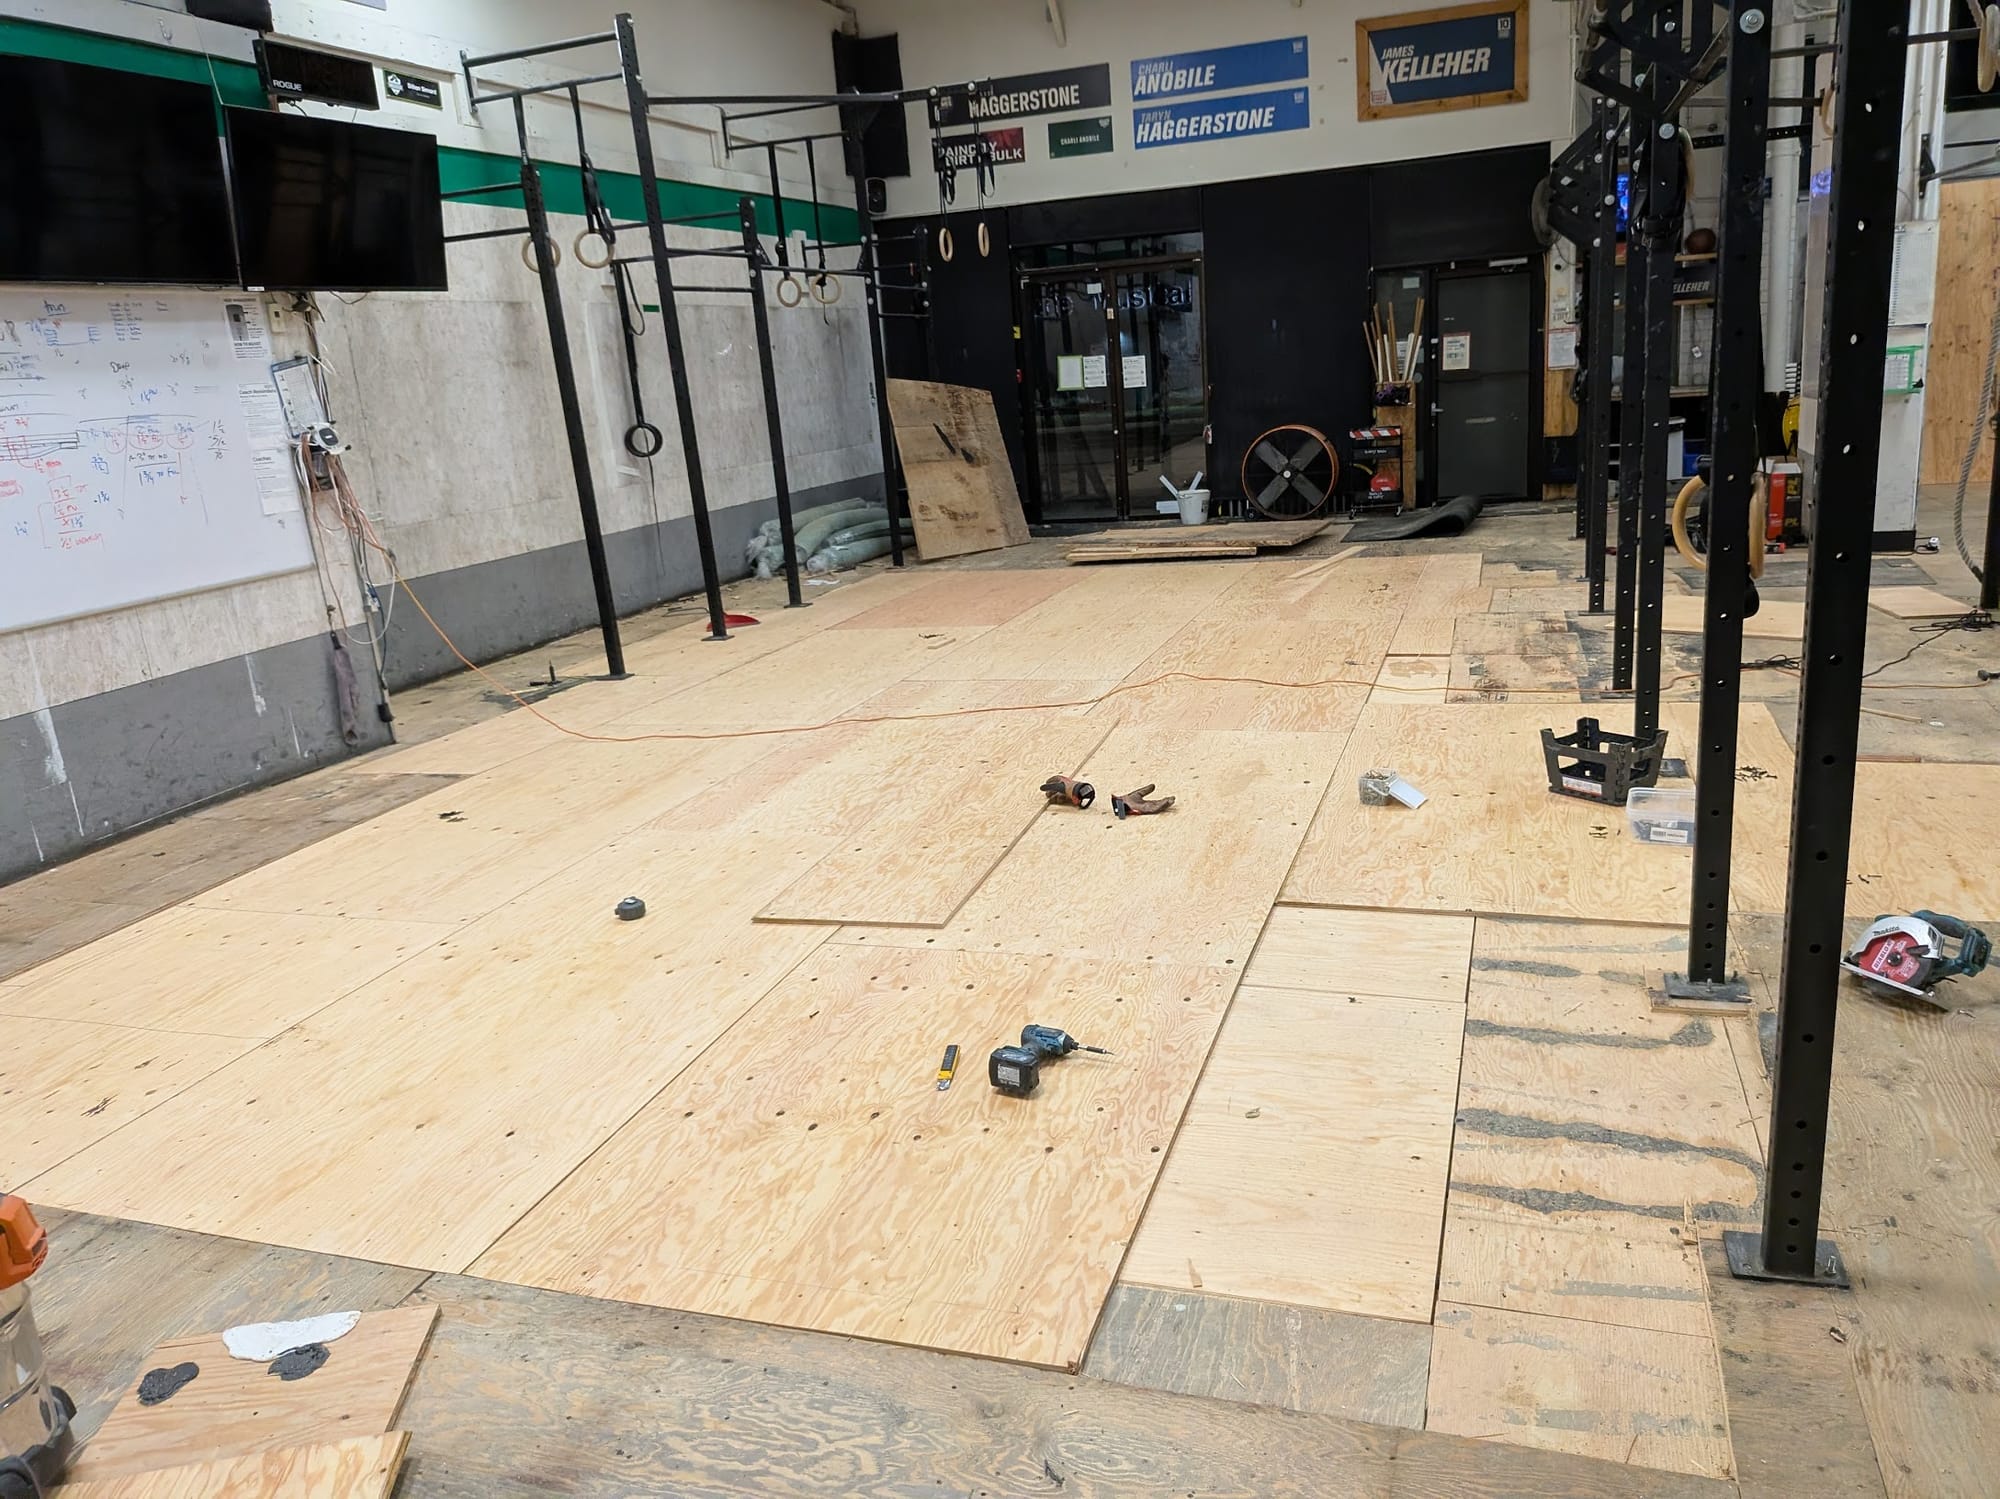
After breakfast, I came in solo to properly level the floor from the bottom up and lay the first layer of plywood so Dillan could return the next day to glue and screw the second layer.
Day 4 - Dec 26th:
Laminating Wood
With enough glue and screws, two sheets of plywood become one. Over 48 hours, Dillan and I installed more than 3,000 screws. My construction days prepared me for this. My body did not. Some hand issues followed, but mostly recovered now.
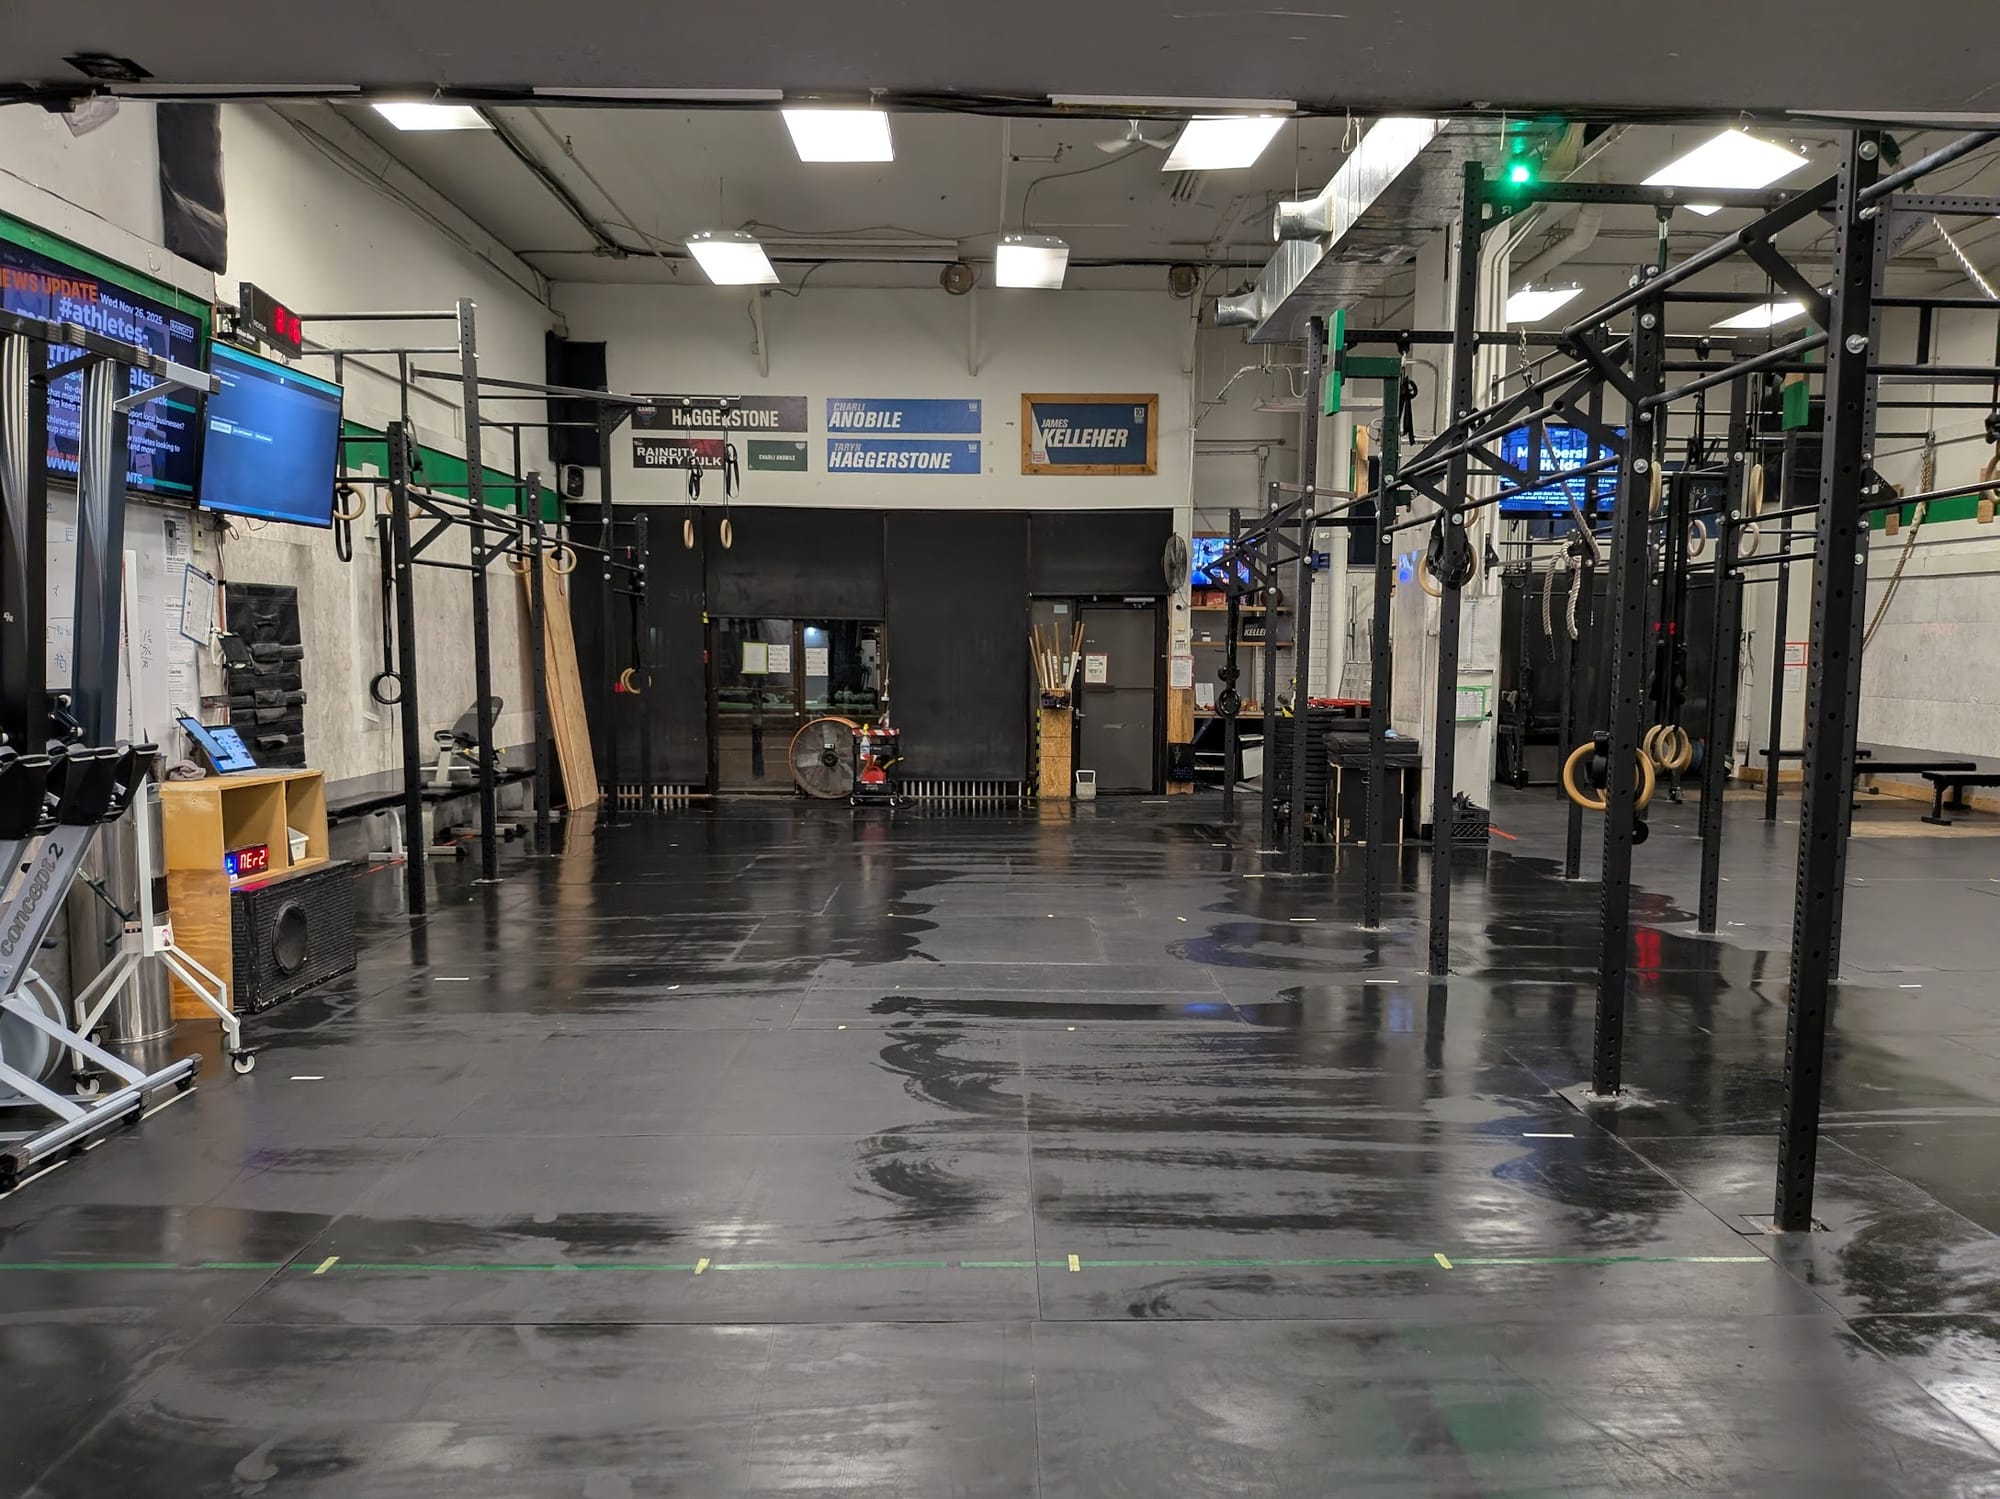
Day 5 - Dec 27th:
Putting it Back Together.
On the final day, the community showed up and helped turn it back into a gym.
Finally we had a finished product. Though it was by no means perfectly flat / level (because it would have cost bout $10k to actually have re-poured an entire concrete sub-floor) it was sturdy, and it was smooth!

Lessons Learned?
Just do it right the first time 🤦♂️
As we pulled up the subfloor wood, I was surprised, and honestly emotional, to see that it was still in great shape. The soft spots and bumps weren’t from structural degradation like I had previously thought, they were the result of years of trying to fix my own half-assed fixes 😭.
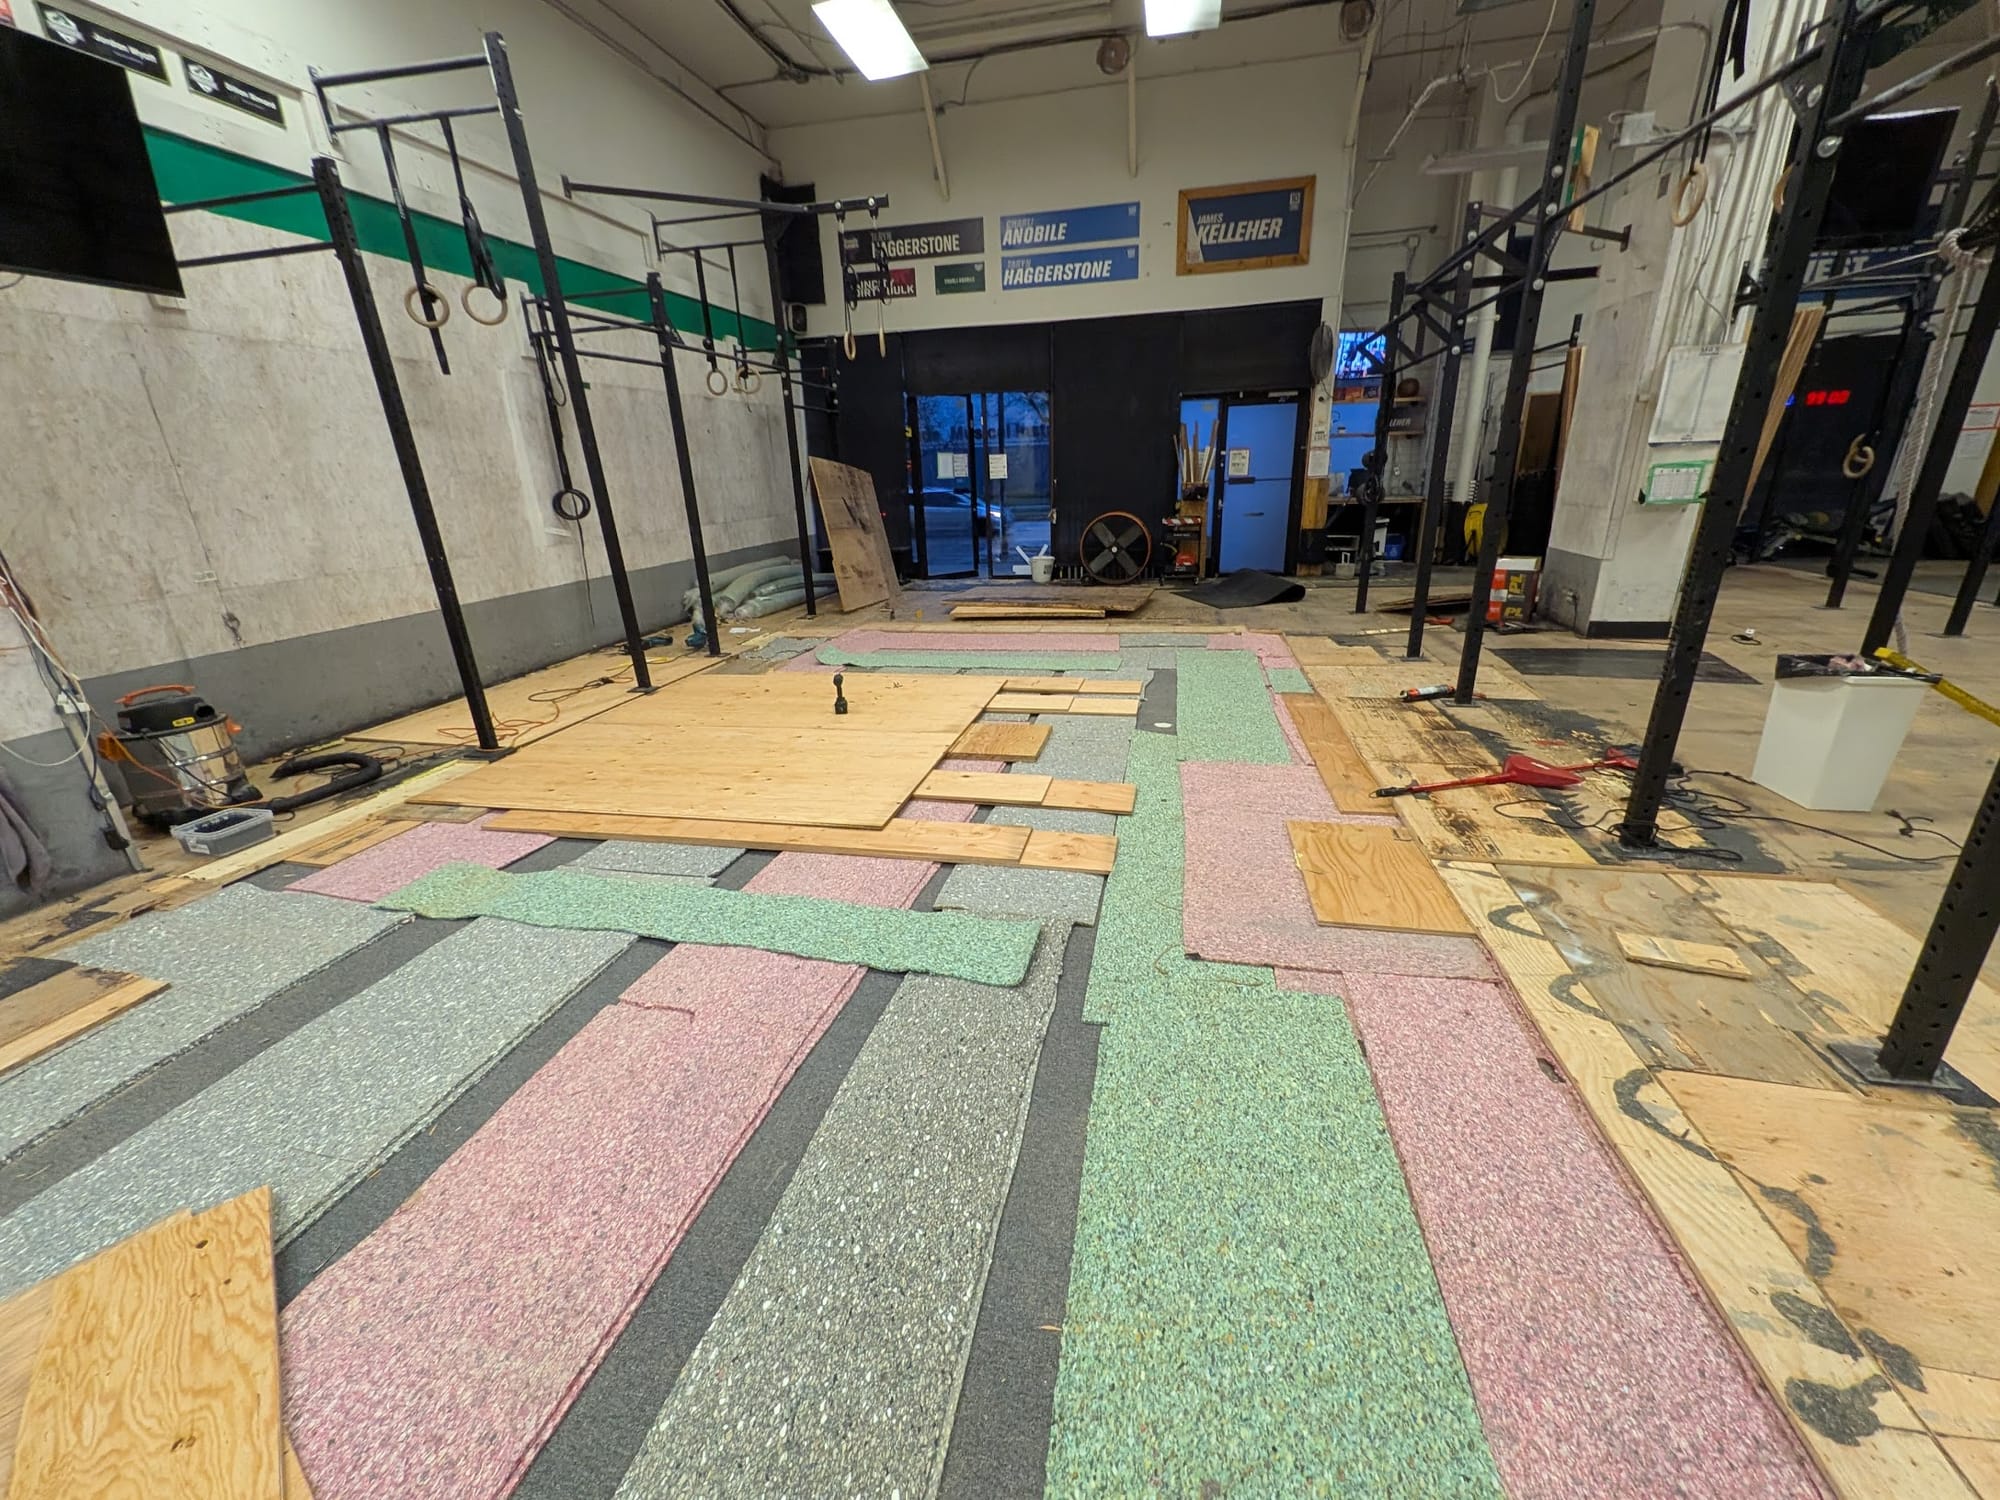
The only other mistake in my design was using full sheets of carpet underlay instead of strips. The soft spots we found weren’t from bad wood, but from seams where flex had slowly pushed the underlay away over time, creating weak points. Proper gluing, screwing, and fastening the underlay in strips solved this entirely.
The Blueprint
So you can build your own sub floor, learning from my decades of mistakes.
Coming soon...